Today I decided to tackle a technique that may not be for everyone- the cut crease.
A cut-crease eyeshadow look involves placing a stark line through the eye socket and building a gradient from this line to the brow. The final look should be graphic and dramatic and can be achieved with any desired colours. The aim is to create ultra definition with clean lines.
Today I chose to keep it simple and do a neutral cut crease- I’ve outlined the process in regular text, and the product/tool I’ve used in red text. I’m going to stop babbling, here is the tutorial!
Step 1:
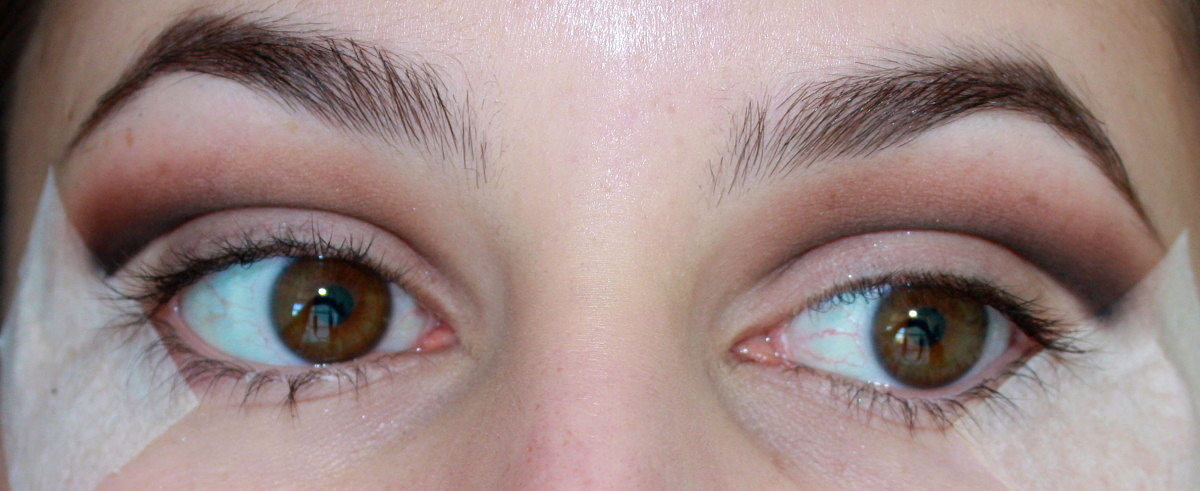
I primed my eye (Too Faced Shadow Insurance) and placed some surgical tape on my outer corner in the desired angle. A tip for determining the perfect angle for you: follow the angle of your lower lashline OR draw a line from the outermost corner of your eye to the end of your brow (this works for me).

Step 2:
I then took a black pencil liner (RBR Eye Kohl) and mapped out a line in my crease. Make sure your pencil is well sharpened to avoid a smudgy mess. Tip: If you find using a pencil tricky, you could also use an angled liner brush dipped in black shadow for this step.

Step 3:
I took a dark matte brown eyeshadow (Inglot 326) and softened the black line (using a MAC 219 Pencil Brush). Avoid getting any shadow under that black line we mapped earlier.

Step 4:
Taking a lighter matte brown or orange shadow (Inglot 335), blend only the upper edge of the current eyeshadow (using a MAC 226/217).
Step 5:
Highlight your inner corner and your brow bone (I used Inglot 397 & 353, respectively). Apply your winged liner (Geisha Ink Liquid Liner) and then peel off the surgical tape!

Step 6:
Line your upper waterline with a black pencil liner (RBR Eye Kohl). Run some black eyeshadow (Inglot AMC 63) in the outer third of the lower lash and some brown (Inglot 326, again) to soften the line. Finally, put on some mascara (Lancome Hypnose) and some lashes (I used some no-name lashes) and DONE!
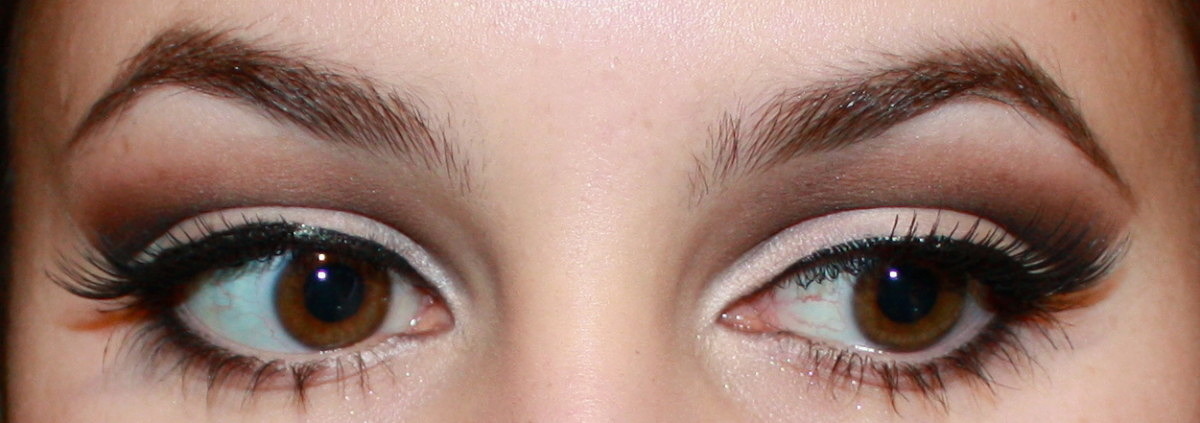
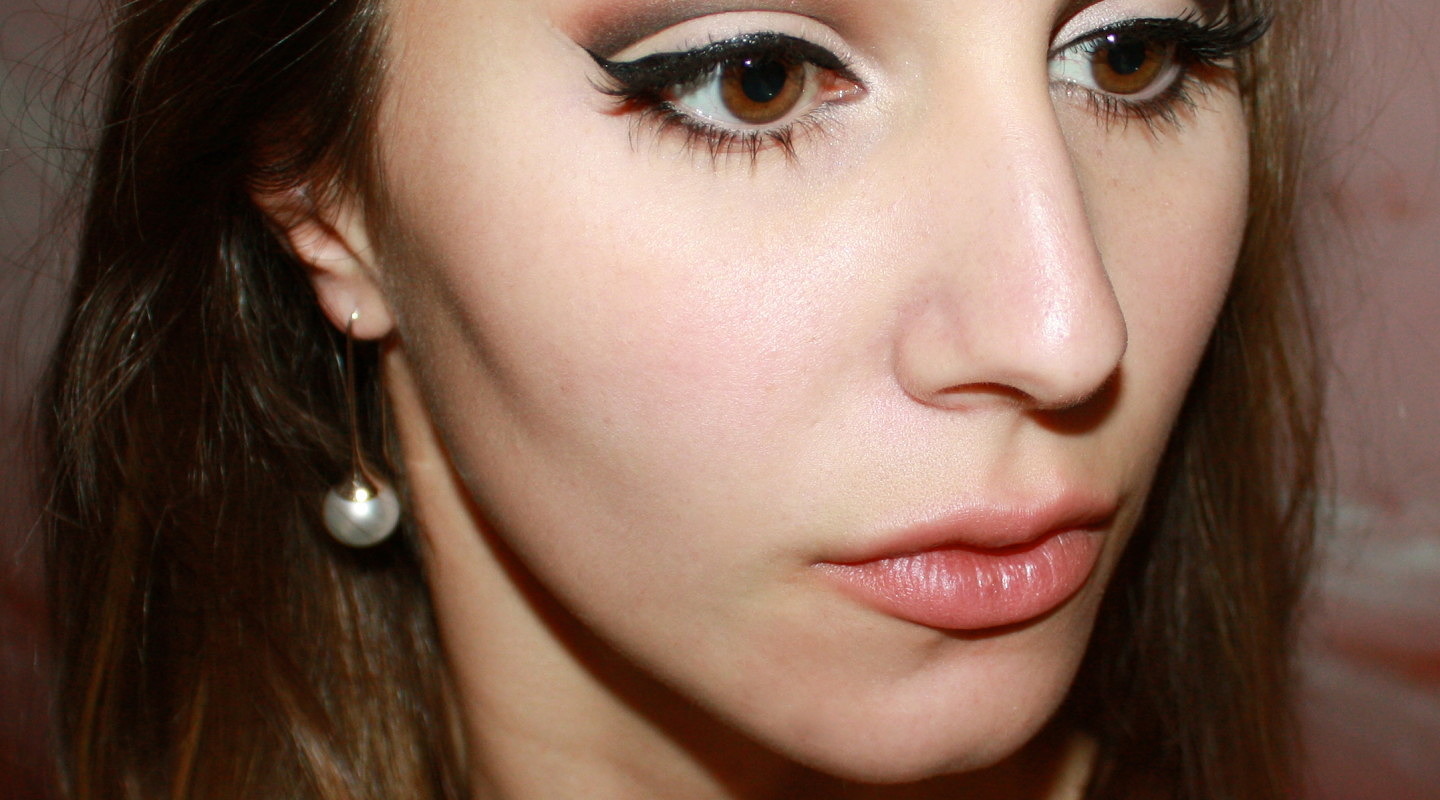
Final look! Pardon the wonky eyeliner, my beloved Geisha Ink liquid liner is drying up 🙁

Love you all muchly 🙂
xxkarima
<3 Cut creases lol, thanks for the tutorial! Although it'd be awesome to see a closed eye pic lol. When I do this I have to do it just above my crease otherwise it makes my eyes look droopy when they're closed for some reason haha.
xx
In all the step photos except the last, I was actually leaning my head back so you could see the crease. It doesn't look that way, I think it's just my eyeshape!
PS: I've loved your cut crease looks! It was actually what inspired me to do this one 🙂
xxkarima
This is pretty, perfect for an everyday look not too overdone. thank you, love your posts! 😉