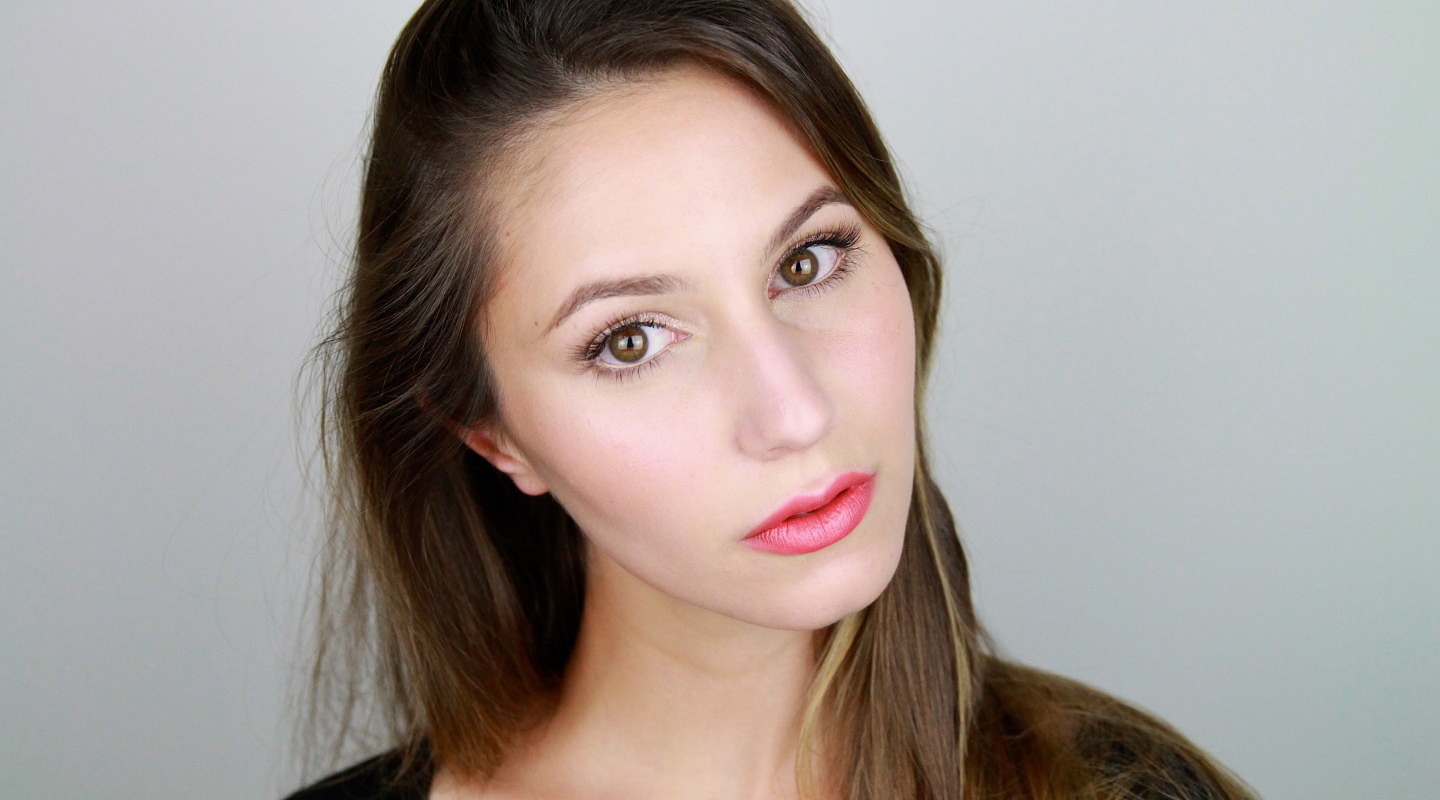
Some word associations that I have with ‘Spring’; luminous, flowery, fresh and baby lamb. Somewhat like this look (but no baby lambs, sadly), featuring Chanel La Favorite from the Spring 2013 collection.
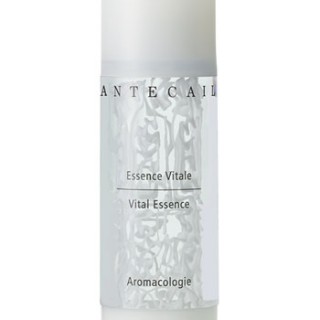
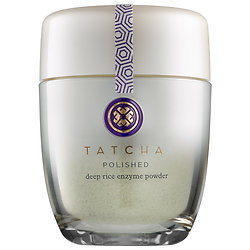
Hi, everyone. Today's look is all about the Luminous Skin using a lot of dewy and cream textures. Now a glowy base really starts with the condition of your skin and therefore your skin care. The first and perhaps the most crucial step is adequate exfoliation to promote skin cell renewal. Prior to filming, I used the Tatcha Rice Exfoliant and this in deep. Just to slough off any dull skin. Then you can go ahead and apply a moisturizer that suits your skin type. Hydration and luminosity really go hand in hand, so I've used the Chantecaille Vital Essence. And this is a serum that has a gel texture but is also supremely hydrating. Once you've mustered that, you can make the most of the vast variety of luminous make up on the market. At this point, you should determine whether or not you will require a primer as we will be using a lot of cream and liquid products today.
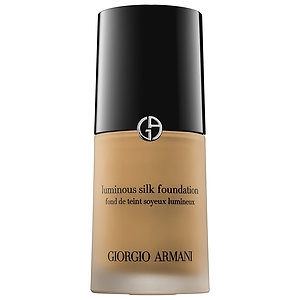
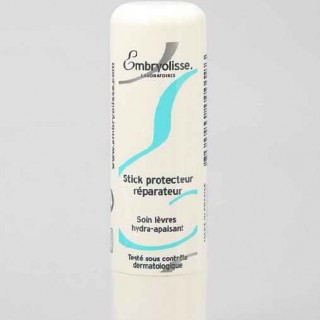
If you find that your make up lacks longevity or migrates throughout the day or perhaps you have oily skin, the now would be the time to apply that primer. Two great options are the Laura Mercier primers and the Hourglass veil primer as they don't overly mattefy the skin. Make up wears like iron on me so I'm going to skip primer and head straight for foundation. Today, I'm going to be using the Armani Luminous Silk and this is in shade 5. And I'm going to apply that with a powder brush pretty much all over the face. This foundation has a medium coverage and a dewy finish. It also pictures beautifully so a great option if you're going to an event and are likely to be pictured. Some other luminous foundations that you might consider are the Yves Saint Laurent Touche Eclat or the Chanel Vitalumiere, basically any foundation with a dewy finish. And just before I forget, I'm going to apply a lip balm. This is by Embryolisse just so that my chronically dry lips don't detract from the luminous skin.
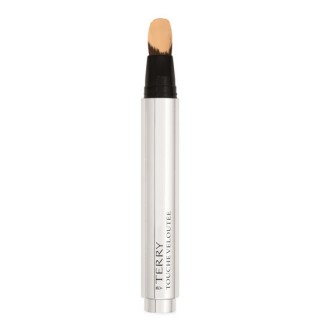
Next, I'm going to take an illuminating concealer and just conceal any shadows underneath my eyes. This By Terry is one of my favorites because it provides a really decent coverage and just the right amount of illumination. We'll also bring this down a little bit on to my cheeks and make sure you don't forget that in the corner as many people are darkest there. I've done my right eye just so you can compare and visibly see what great coverage that provides. Moving on to the cheeks, I've chosen a peachy cream blusher from the BECCA Fallen Angel palette just to accentuate the sheen that we got going on. I'm going to be using a very small stippling brush to apply this so that I have some precision as to placement. Wit blushes, I prefer to apply just off the apples of the cheek, and this provides a peek of color without being entirely obvious when viewing straight on. This is also a good placement for those who are quite wide across the cheek bones as I am as it helps to track from that width. So I'm just going to take that peachy blush on my stippling brush and run off the apples of the cheek. I'm going to use a dabbing motion and blend outwards.
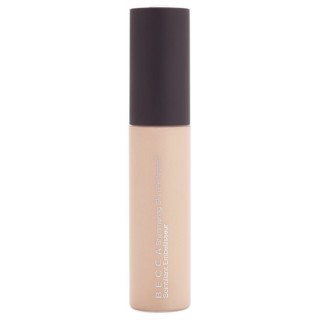
Up until this point, I've used creamy formulas with no shimmer whatsoever, so I'm going to introduce a little bit of highlighter. This is the BECCA Shimmering Skin Perfector in shade moonstone. And I'm going to place this on the high points of my face. I'm using the same brush that I used to apply my foundation and I'm going to apply this liquid highlighter in thin layers to the tops of my cheek bones, a little bit under my brow and on my cupid's bow. If you're seeking extra luminosity, you can apply more highlighter but make sure that it's done in thin layers as you can always go back for more. Take a bit of extra time to really blend your blush in to your highlighter using both the brushes that we used. We don't want to see where the highlighter ends where the blush ends. We want the final look to be quite refined and polished but almost undetectable.
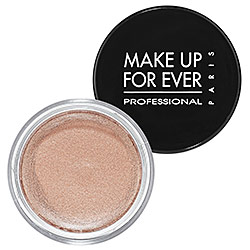
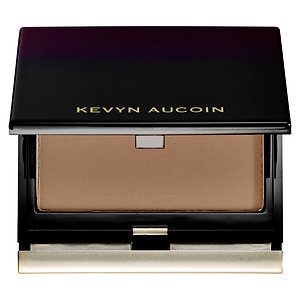
For the eyes, we're using yet another cream product. This is the Make Up Forever Aqua Crème in shade 13, which is a really pretty rose gold shade. I'm going to apply that cream shadow to lid just using my finger. I always like a little bit of definition in the socket so I'm going to put a bit of contour powder through the crease just lightly. I think a lot of people feel as though their under eye concealer erases some of that definition on the lower lash line, and I have this issue too. And to combat this, I just take a little bit of contour powder and I placed some more definition in that lower lash line and I find this helps my eyes look a bit bigger.
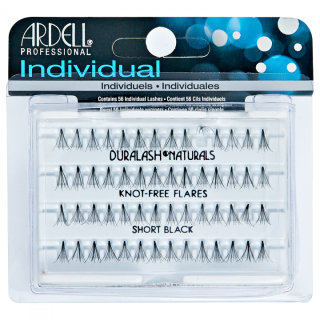
I'm giving dark eyeliner mist but I have placed a few random false individual lashes on my upper lash line just to give a more wide eye effect. I'm then just going to pop on my mascara to both my upper and lower lashes. Additionally I'm going to run a light nude pencil on the low water line. This is just to exemplify that healthy and bright look that we're trying to achieve. I also tend to run that in a little bit in the inner corner. For the most part, I tend to prefer nude pencils to white pencils as I find that the latter can look a little bit stark.
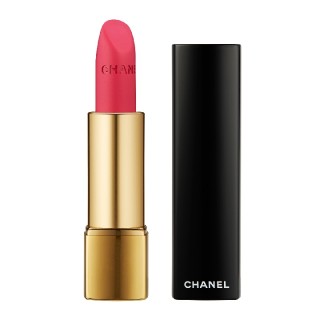
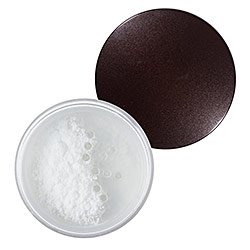
Now for my favorite part of this look, the lip. This is a warm coral lipstick from the Chanel Spring 2013 collection. And I purchased this today and I haven't tried it yet and I'm very excited. So I'm just going to apply this with a square lip brush. This is a matter formula and I think that will contrast really nicely against the luminous skin. It's quite a bright shade on me. I'd almost call it neon but I'm quite fond of the color. I think it's very pretty. One final step. There are some regents in the face where sheen or shine is simply not flattering. This tends to be un to the eyes and on the sides of the nose as many people have visible pores there. To combat this, I'm going to apply the tiniest bit of powder. I've chosen the Laura Mercier Secret Brightening Powder and this will tone down the shine without dulling that luster that we've created.
It's not your typical matte powder. So just down the sides of the nose and unto the eyes. I should also mention that I'm using quite a small brush. This is still a # 9 so that I don't dispose product all over my face. And that complete our how to on luminous skin. This routine is particularly good in the colder months when skin seems to be lacking vitality but I use these techniques all year round. I hope you all have a lovely week and I shall see you later.
Final Look:

Nail Polish I’m wearing in this tutorial:
Ciate Power Dressing (rich, dark blue)
Complete List of Products:
Tatcha Deep Rice Enzyme Powder
Chantecaille Vital Essence
SUQQU Brow Pen (not shown in tutorial)
Giorgio Armani Luminous Silk Foundation- shade 5
Embryolisse Lip Care Stick
By Terry Touche Veloutee Concealer– shade 2 Cream
Becca Fallen Angel Palette
Becca Shimmering Skin Perfector- shade Moonstone.
Make Up Forever Aqua Cream- shade 13
Kevyn Aucoin Sculpting Powder in Medium
Ardell Short Flare Individual Lashes
Lancome Hypnose Mascara
MAC Chromagraphic Pencil- shade NW15/NC20
Chanel Rouge Allure Velvet- La Favorite
Laura Mercier Secret Brightening Powder
Let me know what sort of tutorials you’d like to see next 🙂
xxkarima
A lovely video thank you! The spring collection from Chanel is pretty and interesting. I used to live in Sydney and now live in San Francisco and cannot believe the range and value here. So happy fellow Aussie women can now shop online with the larger retailers. Boo to luxury pricing only because of distance.
Keep up the great work, your blog is terrific. 🙂
Hey Kimberley!
My pleasure 🙂 The US is incredible for makeup, I go on a spending SPREE when I visit. Boo to Australian prices 🙁
I’m glad you enjoyed it!
xxkarima
Loved the video the lipstick looks amazing on you too! thanks for all the tips!
My pleasure! It’s a wonderful lipstick (and sadly, limited edition). It kinda reminds me of MAC Vegas Volt, but that one has a white base.
xxkarima
You look stunning in this! such a beautiful look on you 🙂
Taylor <3 We need to catch up more! My boyfriend is sick of hearing about my makeup and I need an outlet lol.
lovelovelove
Hi, love the Chanel lipstick I bought this one yesterday, love to see you do a look with more Chanel make-up!
Might do a tutorial using all Chanel, will see!
xxkarima
How is that Haku lip brush, I am very curious since I have not used lip brushes and I am considering getting one for practice.
LOVE IT, Nikole! It’s square so great for precision and it washes really well- doesn’t fray or anything like that.
xxkarima
Hi Karima!
I’ve just discovered your fabulous blog whilst on a quest to try and demystify the Armani Luminous Silk foundation shades! I wonder if you could possibly point me in the right direction? I have the Maestro foundation in a shade 4.5 which seems to be a pretty good match but I do find it drying (particularly around the nose – as mentioned on your blog). I have tried a sample of Luminous silk and love it but the shade 3.5 is far too dark and orange for me (I’m definitely a yellow undertone). I notice you wear both the 4.5 and 5 as well as saying the 4 is your best match in the Luminous Silk. Is there a close shade to the Maestro 4.5? I do hope you can help as I’m hours away from a shop and so far it’s been so hit and miss!! In the meantime I shall enjoy reading the rest of your fabulous blog and watching your superb tutorials! Warmest wishes from England – Glenda
Hey Glenda,
Some comparison swatches here that you might find helpful:
https://shamelessfripperies.com/review/giorgio-armani-maestro-fusion-foundation/
xx
Thanks Karima!