Contouring epitomises some of my favourite aspects about makeup- I’ve always been intrigued by enhancing and modifying facial architecture. It’s a case of one-size-doesn’t-fit-all, so I’ve created a tutorial that addresses various skintones, levels of expertise and face shapes.
For the purpose of demonstration, I’ve opted for a bold contour but depending on occasion, you can tone this down as you see fit!
Hello, everyone. Today I thought would be the perfect time to first try out a beehive and I would classify it as a moderate failure and I should probably just stick to make up. So that leads me to the tutorial of today which is all about contouring. In my mind, contouring encapsulates two main purposes. The first is it can be used as a correctional technique. So it can recede certain features of the face to make it appear slimmer or to perhaps minimize features that you may not favor. Additionally, it can be used to make a face appear more angular so define the cheek bones and lend an all around chiseled appearance. I'm going to focus on the more angular aspects today. But I will touch on how to slim features.
Product-wise, you can use a bronzer to add warmth and shade the face. But for today's purpose, you're really looking for a shade that is within the spectrum of your natural skin. So if you observed the shadows underneath your cheek bone or underneath your jaw, your contour should mimic that shade, and you'll notice that it's quite gray. Regardless of whether you're using a cream or a powder product, your contour should be a few shades darker than your natural skin tone and on the cooler spectrum. So if I show you a bronzer, this is probably a little bit too warm for this purpose. It has a little bit too much orange in it. And most importantly, your contour should be entirely matte. So the whole premise behind the contouring is to recede areas. Shimmer does the opposite so pretty please matte.
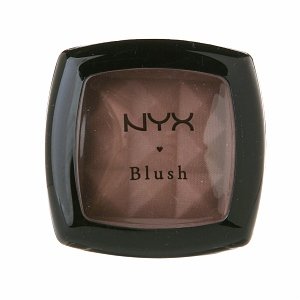
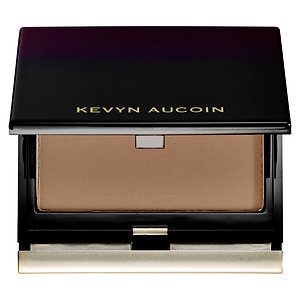
The options are endless but I have a few suggestions. If you're quite cool and pale, you may opt for something like NYX Taupe blusher and this is a great option because it's not too pigmented and has a very slight rosy undertone which is flattering on cooler and paler people. If you're more medium to tan skin tone, I love the Kevyn Aucoin's Sculpting Powder and this is just a little bit deeper than the NYX Taupe and it's more neutral toned. If you are a darker skin tone and struggling to find the contour, then a powder foundation that is about two shades darker than your natural skin tone will be a great place to start.
The brush that you use depends on your preference and your expertise level. If you are a beginner or quite pale, then you may select our medium size soft brush so nothing too dense. And this way you're less likely to over apply and start to look grubby or dirty. If, however, you are more confident at contouring, then you may want to select a denser, more directional brush, in this way, you can achieve more precise shading. To begin, I've applied my base and I've lightly powdered because I'm using a powder contour today. If you're using a cream contour then you would skip the setting powder and proceed with me. So I'm going to take some of the contour on my brush, just evenly coat it. And then I'm going to remove a large portion on the back of my hand. This is not the time to go in heavy handed. You can build your contour if you wish to quite a dramatic contour but going in with too much product can be really hard to correct.
I like to start with my cheek bones. So look to yourself in the mirror straight on and determine where your natural bone structure lies. If you're having trouble, you can run the brush then down your face and oh, there's my cheek bone. I don't suck in my cheeks because I don't generally walk around like that and I want to know how my contour will look when my expression is resting. So I'm taking the brush and I'm angling upwards and lightly shading just under that cheek bone. I'm using this angle so that most of the product is applied on the incline of my cheek bone. And I'm slowly blending upwards. If you blend down, you may find that your contour starts to look a little bit muddy and it also defeats the purpose because we're trying to create the illusion of high cheek bones. So I'm just going to keep adding to that contour. Keep building until you've developed the depth that you desire. I'm doing quite a strong contour today. Same concept on the other side. Circular motions, angling the brush upwards if you find that easy and blend, blend, blend particularly in to the hair line.
The next area that you may elect to contour is your temple/forehead. If you would like to create a slimmer looking face, you would run the contour over the entire outer perimeter of your temples, reserving about three fingers worth on the top of your forehead. And what this does is it recedes the outer portions and highlights the center giving the illusion of a longer face. Conversely, if you would like to conceal a high forehead, you would run the contour in the upper third of the forehead and blending in to the hairline and this detracts from that area. We're doing something slightly different again. We're looking for a more angular appearance. So what I'm going to do is run the contour directly above the temple so there'll be a bit of a bone there. And I'm running that contour on the bone and blending upwards. Blend that really well in to the hair line so that we don't have any telltale white hair lines.
Okay, next area that you may choose to contour is your jaw line. So if you have quite a defined jaw line and you would like to draw attention away from that, you can run the contour directly on the jaw bone, and this draws the eye away from that area. On the other hand, we're creating a more defined face so for more defined jaw line, I'm running the contour directly under the bone. When contouring the smaller areas of the face, you'll probably need to switch to a smaller brush. Using a fluffy crease brush, I'm going to run some contour directly above the socket, just to get some more definition in to the eye area. If you have deep set eyes, then lucky you. You can skip this step.
Contouring the nose is also popular. I'm using a flatter but softer brush so this isn't dense at all so that I get a light application of product. Again, taking most of the product off on the back of your hand, I'm starting at the top of the brown. I'm pulling this contour downwards. Be really careful not to over apply on the nose because unlike the cheek bones, there's no natural shadows there that will conceal over application. It also happens to be smack bang on the middle of your face. So proceed with caution. You may also like to dust a little bit of contour on the tip of your nose to conceal a long tip. And that covers contouring basics.
The final step would be to take a clean powder brush and I've used any discernable lines. If you feel as though at some point you've over done it or you've blended too far out or too far down, then you can take a bit of translucent powder or powder foundation on to these brush just to really hope buff out any lines. I think I might also apply a little bit of highlighter just to accentuate the shape that we've got going on. I have here something that I purchased today and this is the Chanel Highlighter from the spring collection. And it's so beautiful. It's almost too beautiful to use but not quite. So here we go.
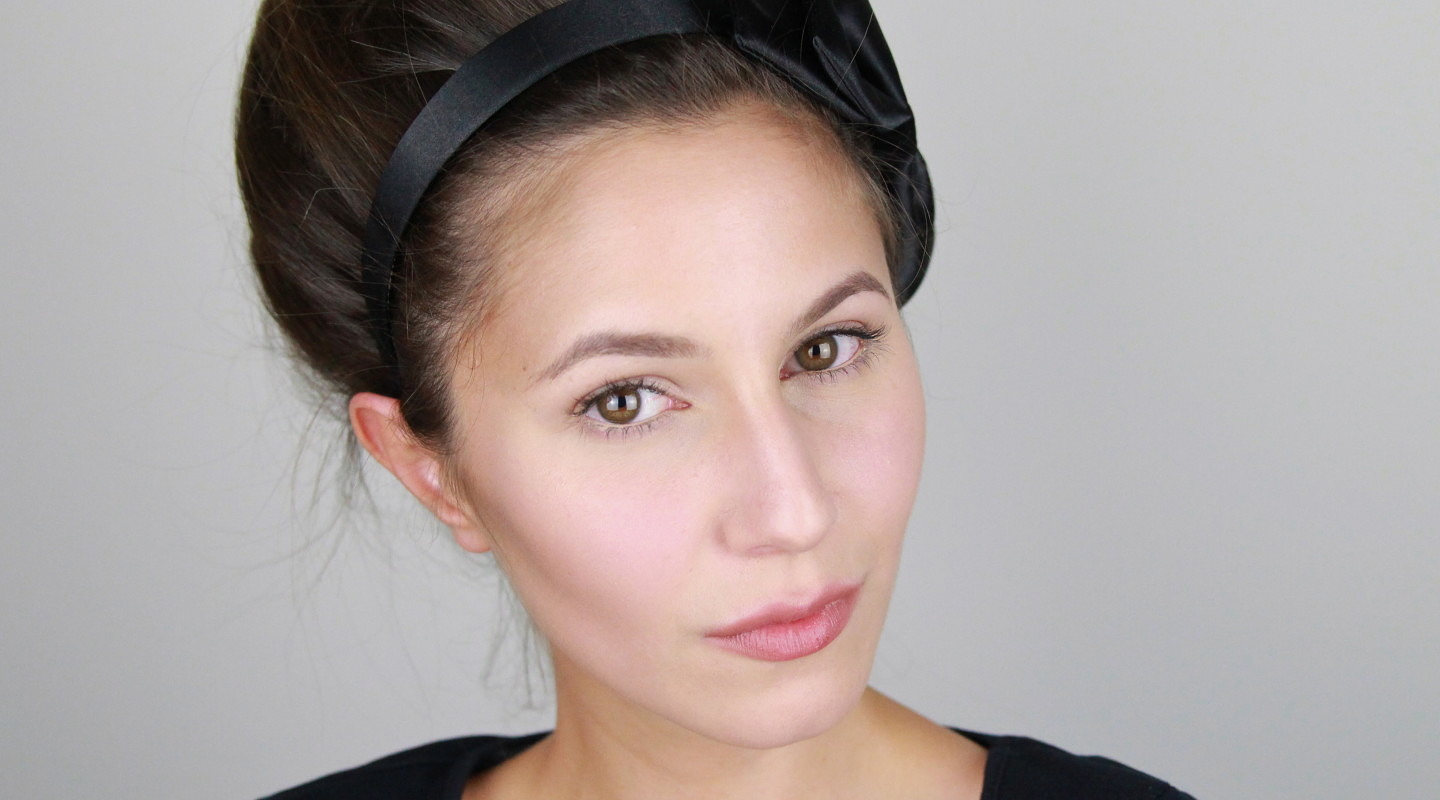
And that completes our contouring tutorial. The contour that I've demonstrated today has been quite bold, perhaps more bold than you would wear on day to day. But I just wanted to show you how far you can take it and you can always tone this down. Hopefully, I've been thorough and I've answered all your questions but if I missed something, then let me know in the comment section below and I'll get back to you. If you enjoyed this tutorial and you're not already subscribed, then subscribe. I hope you will have a wonderful day. See you later.
Final look:

Second picture to illustrate less ghosting (not sure why this occurs, photography experts, lend me a hand!)

Nail Polish I’m wearing in this tutorial:
Ciate Ladylike Luxe
Products and brushes mentioned in this tutorial:
NYX Taupe Blush
Kevyn Aucoin Sculpting Powder
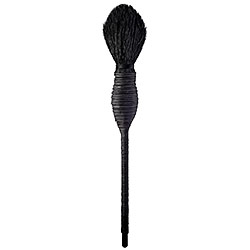
NARS Yachiyo Brush
Hakuhodo Eyeshadow L Brush
Poudre Signee De Chanel Illuminating Powder
What I’m wearing on the rest of ma face:
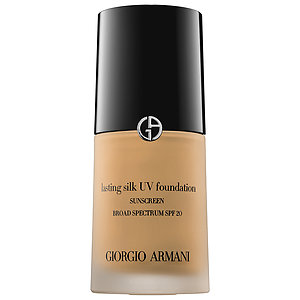
Armani Lasting Silk Shade 5.5
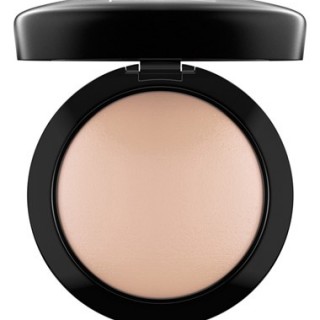
MAC Mineralize Skinfinish Natural Shade Medium (to set)
SUQQU Brow Pen Shade Brown
Geisha Ink Mascara
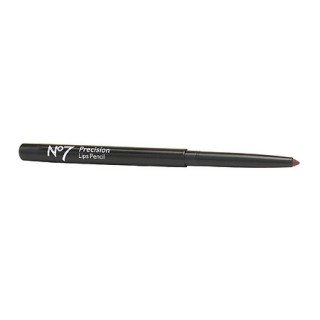
Boots No7 Lipliner in Nude, over the entire lips.
Much love! xxkarima
Wow, your skin looks absolutely flawless! Love the hair as well 🙂
Thanks Catherine! I’m going to have to practice on the hair lol. xxkarima
Please recommend contouring (powder) shade for NC15-20 with yellow undertone? TIA!
I have a friend paler than NC15-20 who loves the Kevyn Aucoin Sculpting but the key is using a really light hand. Also check out Burberry Earthy.
For a more affordable alternative, Ben NYE Contour #1.
xx
Hi hun! I’d love to know how you did your hair in this video, it looks awesome!
xo
Hey Carmen!
I used this Youtube tutorial 🙂
https://www.youtube.com/watch?v=Dhn01kJgdT0
xxkarima
This was a great tutorial! Thanks!
Glad you liked it! x
Thank you so much for explaining the difference between bronzer and contouring shades! I see so many tutorials that use NARS Laguna to “contour” and all they’re really doing is putting shimmery orange-brown under their cheeks. This is an excellent tutorial!
Hey there!
It all comes down to preference and some people like Laguna for this purpose. Personally, I prefer ultra matte and cool tones. I’m glad you found it helpful!
xxkarima
Wow this is such a beautiful video. I can’t believe I only just found you. You have such flawless skin!
Thanks, Mabel! Happy you liked the video 🙂 xx
I happen to stumble upon your blog while searching for information on hakuhodo brushes. And I am so lad I did. I have been following people like Michele Pham, Wayne goss and pixie woo and now you are the next peron I’ll be following. Love, love love your contouring tutorial. Nobody has ever made it that clear. Thank you.
My pleasure, Jennifer! Welcome to Shameless Fripperies 🙂 xxkarima
Hi Karima,
very great tutorial!
which brush do you use to contour your nose with in this video?
Thanks!
It’s a The Makeup Store Angled Eyeshadow Brush! x
Hi Karima,
I just discovered your site and have subscribed. I have a question about skin tone. You refer to your skintone as a NC15 (or something like that). Will you tell me what that means and how do I determine my own skin tone. Thank you. You are a lovely person, well-informed.
Hey Karen, I’m an NC20ish which is a MAC shade system. People use it because it’s widely available and gives a ballpark shade estimate. You can figure yours out at a MAC counter 🙂 x
Wow!
I´m absolutely in love with you! Your explanations are very clear and simples
I´m going to suscribe now!
Thanks Lilliana! I’m glad you like it, enjoy 🙂 x
Hi Karima, your blog is really interesting and well made. I found it searching for Hakuhodo and now i can’ t leave it. Can i ask you a question? I am Nw 20 and a new in the contouring world. I want to take nars laguna for doing it and a brush for Hakuhodo . Can i ask you what Hakuodo brush can be ideal for laguna? In particulary i am interested in the J series.
Hey Romina! The Hakuhodo Eyeshadow L is the only Hakuhodo brush I use to contour, I own many of the J series eye brushes but not the face brushes. As for Laguna, I personally wouldn’t use that as a contour (especially because you’re an NC20), I did mention some of my favourite contours in this video. xx
Hi Karima, your blog is really interesting and well made. Can i ask you a question? I am Nw 20 and a new in the contouring world. I want to take nars laguna for doing it and a brush for Hakuhodo . Can i ask you what Hakuodo brush can be ideal for laguna? In particulary i am interested in the J series.
Tanks Karima, i am going to find Nyx taupe blush. At the moment i live in japan and i am sure i can find it here. Nars laguna was a present from my friend i wanted to use it but i am going to found for him a new utility or a new home. Tanks again and sorry for the dubble comment i was sure the first wasn’t posted and posted a second.
I find this video very helpful and nice 🙂 can you tell me maybe a similar color as the kevyn aucoin powder. a dupe from mac or something? Sorry for my english im from germany
Strada by MAC was similar, but I believe it’s been discontinued. NYC Taupe is a great (and more affordable alternative) but not a dupe, in my opinion. Sorry I couldn’t help further! x
I was searching for a tutorial on how to use the Kevyn Aucoin powder, and this couldn’t have been more helpful, thank you SO much for such a thorough and informative video! If I’m an NW15, would you recommend the Kevyn Aucoin or the NYX? I don’t want to invest the money if it’s going to be too dark. 🙂
Shani x
Hey Shani 🙂
You could go either. NYX Taupe is a safe bet, but I know people who are NC15 who love KA Sculpting (with a light hand). Maybe try the NYX taupe first? xx
I loved this tutorial! I’ve watched so many countering videos and they all say the same thing.. I am so happy to have learned something new! xx
I was hoping to bring something new to the table, I’m glad you found it helpful! xx
Hi I really enjoyed your video! I’m new to contouring, I’m Asian with yellow undertone medium skin. I have a tan at the monent and golden light bronzing powder is about the same shade I tan, it’s About 1 shade darker I tan the same colour if I had a stronger tan. I used it for contouring it did define my cheekbones and made me look more tanned but natural. Do u think the Kevin aquan wld be suitable to my skin.
Thanks look forward to yr reply
I’d like to subscribe to your blog
Excellent. Thank you