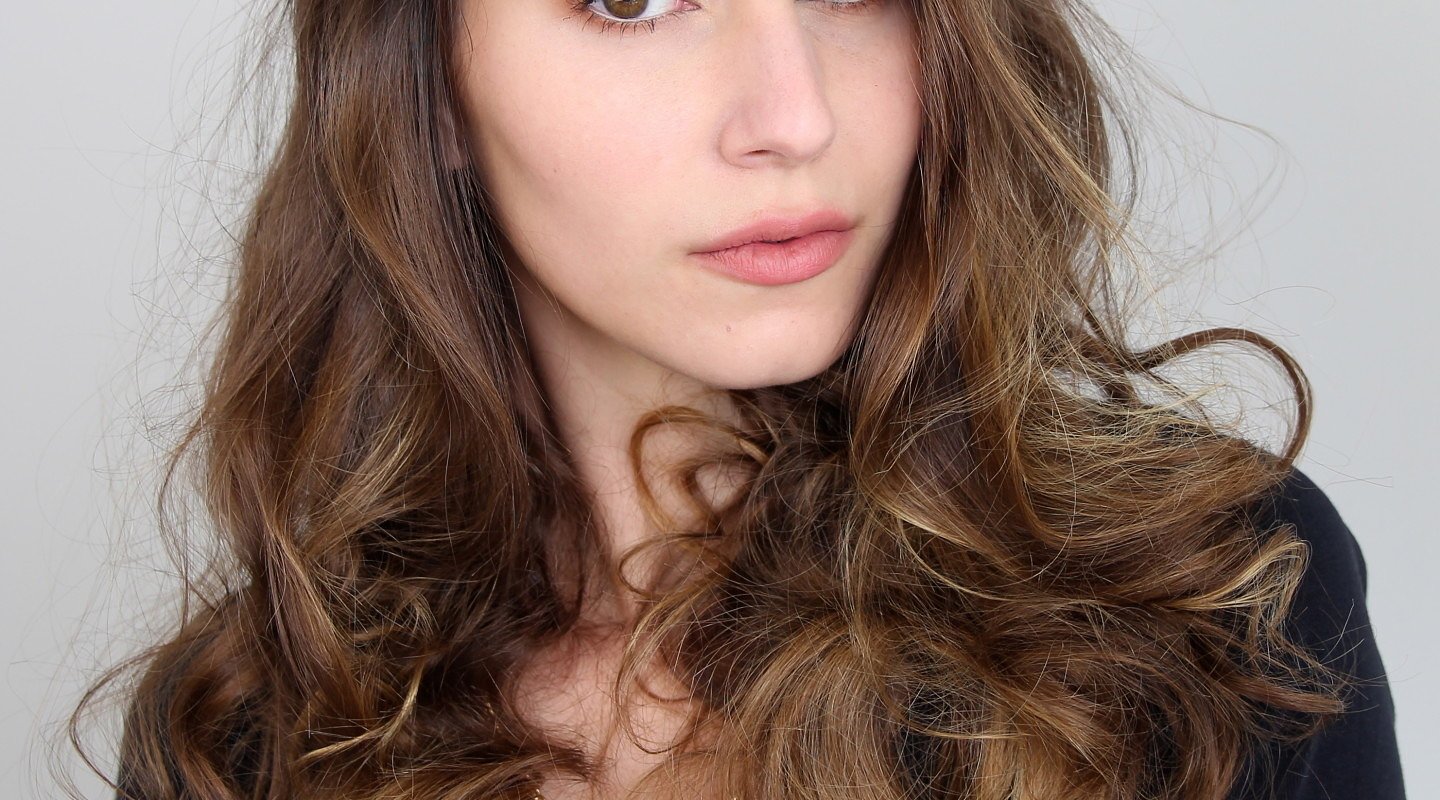
Karima doing a hair tutorial, who would’ve thunk it?
If I can master these 2 minute curls, a monkey can too. The makeup look is super simple and muted, great for everyday and this video also doubles up as my current foundation routine.
Hello, everyone. Today, I'm back with a makeup tutorial. It's a super simple, super natural looking makeup for instances where you want to look pretty and polished but you don't necessarily want your makeup to speak before you do, so perhaps professional savings, UNI, maybe even a first date. I am going to address the silly things in my hair right now.
THE NIGHT BEFORE
Enter MyCurl. It's a cheesy name but it's quiet an interesting rubber unit and my headdress had created this. So I paid for this. My hairdresser doesn't know who the hell I am because evidently I don't visit him very frequently. Michael is great for hair idiots and people who don't like to spend a lot of time on their hair in the morning. So I'm going to section my hair off and I should mention that I've already used a conditioning treatment of sorts. I used the Moroccan oil blah, blah, which is a silicone bomb but I mean it works just fine. And then I'm going to separate the bottom half into two. Now taking your little Michael, basically you just roll. There's really not that much to it. You roll until you hit the bottom. I started about half right through, and then you clip one side, and then continue rolling until you reach the head and clip the other side and that's pretty much it.
Okay, this next step is optional but my hair is really long so if it frequently needs a bit of help. I'm going to clamp the rubber implement with my hair straightener for about ten seconds. The rubber is not going to melt. You're not going to have a mess because they're actually designed for this purpose so. I'll be back. Good night.
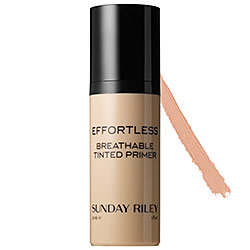
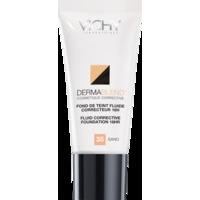
I'm going to start with my base. I'm suing the Sunday Riley Effortless Breathable Tinted Primer. Thank you, Lisa Eldridge. You are the boss. The thing about this though, the coverage is really negligible so I'm actually going to mix in the thinnest dot of the Dermablend Fluid Corrective. Alone this is a very high coverage product and it's not so pliable. And the Sunday Riley is very sheer and very pliable so together it's like Oreos and Milk, cheese and crackers. It's just a match made in heaven. So I'm going to take about half a pump of the Sunday Riley and the smallest amount of the Dermablend, maybe half the size of the grain of rice, very very small amount, on the back of my hand and I'm going to mix them. I'm going to dab and roll this onto my skin. I swear by this technique for liquid foundations, it does take a little bit longer, but I think the result is well worth it.
I'm mainly applying this just to the areas where I need it so for me that would be around the nose, between the brows and a bit on the chin. I'm also going to take a little bit more of the Dermablend Fluid Corrective with a fine point brush just to do some spot concealing. And this is by far the best brush I've ever used for spot concealing. It is the Chanel 24, and it is really soft but it still has a really good amount of resistance so you can get exactly what you need to. With the same Dermablend, I'm going to line a little bit of that underneath my eyes. I'm not really satisfied with any of my under eye concealers right now. Does anyone have any suggestions? I'm looking for something that's really thin in consistency and not too drying. I'm open to all suggestions, so please let me know.
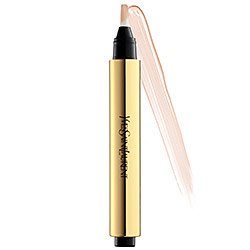
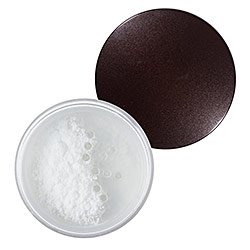
Next, I'm going to set the under eye area with a bit of Laura Mercier Secret Brightening Powder. Have I spoken about this enough? I think maybe I have. Now I'm not going to set the rest of my face because I love the finish and it actually last really well on me. I'm also not going to apply any blush. Now this maybe a real sin to a lot of you but I'm quite naturally rosy in my chicks and my naturally flashed ladies and gentleman out there could probably relate to me. So what I'm going to do is I'm actually going to put a bit of Yves Saint Laurent Touche Eclat and I'm going to run that on my jaw line. This is a really handy hint for those of us who are naturally flashed. It helps to counteract the redness in the areas where it's not desirable. So that might be for you on the jaw line, perhaps on the side of the nose, be it in the temples or may be under the brow, and that way you can rock your natural flash in all kind of flattering way.
Running a bit of illuminating concealer pen thing on the jaw line is also a really great tip for those of us who have a darker face than we do neck and chest. Nobody's the same shade all over the eye expects some level of variations. The issue arises is when that variation is quite harsh or has steps, definite steps. By doing this, it helps to create a more fluid gradient and you don't have to bronze up your entire neck and chest and you don't have to lighten your face to the point where it is ashy. Too long didn't read version, high lighty quickie pens are multipurpose products. So that is pretty much my base done. Now I would estimate that I'd have coverage on may be 30% of my face and by no means do I look flawless, not by a long stretch. But I genuinely look as though I don't have any foundation on and I like that. That is what I strive for and it's very much aligned with my foundation philosophy.
I'm going to do a really quick brow now. I'm going to resist the urge to go to bold because I love a bold brow but for everyday, I think just fill in the spot areas and for me I will lengthen the tail a bit. To set the brows, I'm actually going to use a clean spooly and some hairspray and I much prefer this to any clear brow gel that I've tried. It doesn't make eyebrows look stringy or loaded with product. It just keeps it in place and makes them look polished which is what we all want. For my eyes, I have already primed it with my Too Face Shadow Insurance and I'm going to use quite a warm neutral palette today. This is by Givenchy. Warm transit more harmoniously on my skin but if you prefer cooler tinge, you can go for more of a mauve neutral palette perhaps or gray neutral palette. But I just prefer warm for myself.
There is actually a story behind this palette. Years ago, long before I got in to make up, gosh, I must have been a teenager, I was reading this magazine, I think it was Marie Claire or something, and in the beauty section of this magazine, they had this exact palette featured. And I remember being so enamored by this palette I thought to myself, “One day, I will own something that beautiful.” And years later, and I actually haven't forgotten about it, so when I saw it pop up on a blog sale, I thought, “Oh I have to get that just for old time's sake.” And I've since read reviews that it was mediocre palette but you know I got all sentimental so I purchased it, not expecting all that much. So when it arrived, I didn't have high expectations. I actually really like it. I mean the shades are pretty standard and the textures are simply okay but I don't know, I just really liked this palette. I don't know. Does anyone else have any sentimental makeup stories or am I the only one? So what I've done is I've used this sort of light bronze shade all over the lid. And I'm going in with this sort of a warm dark brown just through the crease. And taking that same light bronze, I'm going to run a little bit on the lower lash line. And a little bit of that dark chocolate brown again just at the outer corner.
Finally for the eyes, I'm just going to take this shimmery iridescent color, kind of an iridescent white I guess, and I'm going to place that on the inner corner. And that was the easiest eye shadow ever. Next, I'm going to curl my lashes. If I'm doing nothing else, I'm curling my lashes. It is just such a must me. For the eyeliner, I'm not going to do any fancy winged eye liner because that just wouldn't be an accurate depiction of me. I don't possess that sort of coordination before about midday and two caffeinated beverages. So instead, I'm going to take a longer lasting eye pencil and I'm just going to tight line my upper lash line and that would give the illusion that I have thicker lashes and more definition around the eyes without looking like eyeliner so it's sort of invisible eyeliner.
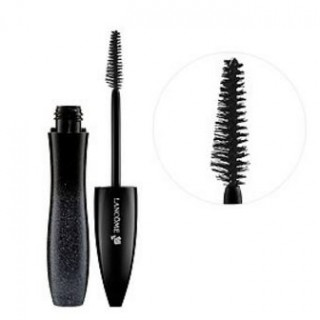
Now for mascara, it is a battle of the samples. I have two contenders today. This is the Yves Saint Laurent Babydoll and the second contender is Lancome Hypnose Star. And the winner is drum roll please. [Drum roll sound] Lancome Hypnose Star. I don't like the Babydoll. I found that it was very separating and it didn't give all that much volume but the deal breaker for me was that it wilts my curl and that's really unusual because my lashes hold the curl very well, whereas the Lancome Hypnose Star is a really dramatic lash. It's great for those of us who love to get lashy and that is me on an everyday basis. And with whatever is left on brush, I'm just going to apply a little bit on my lower lashes. The very last step that I like to do in sort of muted everyday looks is do a nude liner. I'm just trying to remove any of the eye shadow that may fall under my water line. The pencil that I'm going to use is Illamasqua Veil which is a great one for the low water line. It has very good longevity.
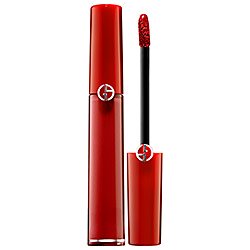
Technical difficulties ahoy. The lip that I used was Armani Maestro 500 which is a pretty blush color and has a high silicone content so great for textured or chopped lips. Okay, that is the face done. Now the great unveiling of the hair. It's pretty simple at this point. You just undo the clips and take them out. I'm just going to shoo shoo it around with my fingers a little bit. And that is pretty much your two-minute curls. I'll try to get up and show you because my hair is so long right now, I really need a haircut. I'm not going to add any hairspray or any other product because I want the curls to relax throughout the day and I like my hair to feel touchable and tactile. So yes, that is my take on a super simple, super natural everyday hair makeup way, where you still look pretty and polished. I think that the makeup is really suitable for all seasons. I think it's transeasonal but if you wanted to update this for the silly season perhaps, you could add a red lip. I have worn this eye with the red lip and it looked great. So I hope you guys all have a wonderful day and I will speak to you very soon. B-bye.
Final Look

I purchased MyCurl – no affiliation or sponsorship etc, I just thought it was cool (just to clear that up). Mine were bought in-store but they’re also available at HQHAIR.
Nail polish I’m wearing in this tutorial
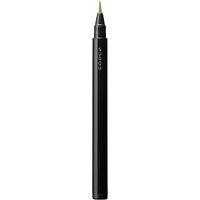
Chanel Distraction
Complete List Of Products
Sunday Riley Effortless Breathable Tinted Primer – Light
Vichy Dermablend Fluid Corrective – 15 Opal (suitable for an NC20 or so)
Laura Mercier Secret Brightening Powder
Yves Saint Laurent – Touche Eclat Pen 1.5
SUQQU Brow Pen – Moss Green
Givenchy Eyeshadow Palette – Tempting Chocolate (discontinued, dupes mentioned in video)
Rouge Bunny Rouge Long Lasting Eye Pencil – Salome (Black)
Lancome Hypnose Star Mascara
Illamasqua Eye Pencil – Vow (Nude)
Giorgio Armani Lip Maestro – 500
xxkarima
Beautiful look and your hair looks amazing! Xx
https://makeupbycandlelight.blogspot.co.uk/
Thanks Charlotte! X
You’re so beautiful, and I LOVE your hair colour!
Have you tried NARS Radiant Creamy Concealer? I love it because it’s so lightweight, but covers like a boss! I do find it is a tad bit drying, but it lasts a long time. That’s the trade-off I guess!
Thank you Arianne! Too kind!
I haven’t tried the NARS concealer yet, although it’s definitely on my to-try list 🙂 thanks for your recommendation, so many suggestions to try!
Xxkarima
Gorgeous makeup and hair. Have you tried dior concealer, very moisturizing.
‘Diorskin – Skin Perfecting Hydrating Concealer
Thank you! I’ll check out that Dior Concealer 🙂 x
Loooove this video. Fantastic hair, I literally went online and bought these clips within 20 minutes of seeing this video. I love the idea of these clips, I don’t like curlers because of the heat and the kind of curl most of them give. The curl this gives is somehow more elegant. I also don’t like putting any product in my hair for some OCD reason of having it feel clean and air-y. Can’t wait for mine to arrive! Thank you very much for the review!
Hey Victoria! I hope you love them as much as I do 🙂 the curl is quite relaxed and not perfectly defined, which I like. I also hate hair product, it makes me feel…dirty. Let me know how they go, I have tips if you need them! xx
Love love love your Look <3
Thank you Karo <3
You look like a hair model!
For the first time in my life! Thank you! x
I just received my Mycurls in the mail today! I would love any tips you may have for using them!
Hey Victoria! Have you tried youtubing ‘mycurl’? They have great tutorials online on how to achieve different curls. My best advice would be to use them overnight instead of taking them out after 15 minutes (as they advise in the instructions), I find I get a much more natural and long lasting curl that way. Hope this helps and let me know how you find them!
xxkarima
Cool, thanks, I am going to Youtube it. I did leave them overnight…wow, I am impressed, the curl lasts aaaallll day and for two days! I love them. I tried them on my mom too, I left them in for 30 minutes and she had the cutest wave-curl, kinda like an on-trend Asian perm style which really suited her, lots of volume. She got so many compliments haha. She thinks their the best thing. Her hair is shortish and thin, so it really held up even after 30 minutes, and with some medium hairspray which she doesn’t mind. I guess just playing around with them, you kinda get a better idea of what ways work best when putting them in, like how tight to wrap the hair.
Thanks for introducing them, such a quality product!
Oh GREAT Victoria, I’m so glad you love them!
Depending on how you section your hair and how many you use, you can achieve all different sorts of curls (I once gave myself ringlets lol). Also, if you wrap the hair only halfway (so not right up to the scalp), it gives a kinda beachy/victoria’s secret kinda look. I love them 🙂
xx
Have you tried the Armani Maestro Eraser concealer for under eye? The coverage isn’t the most, but the fluid consistency is nice and it’s light reflective for dark circles. Great look, Karima! xx
Interesting, I’ve had quite a few people recommend the Maestro concealer so I’ll have to check it out! Thanks for the rec 🙂 x
Loved the tutorial! Just wondering, could you possibly make a tutorial using a few drug store brands? I know it’s been done all over YouTube, but I would love to see how you would use the products, since your application of make-up is different and unique to the “mainstream”.
Perfect timing, Lina. I’ve bought half of the drugstore recently to find products that I really love and I will do a drugstore tutorial soon 🙂 x