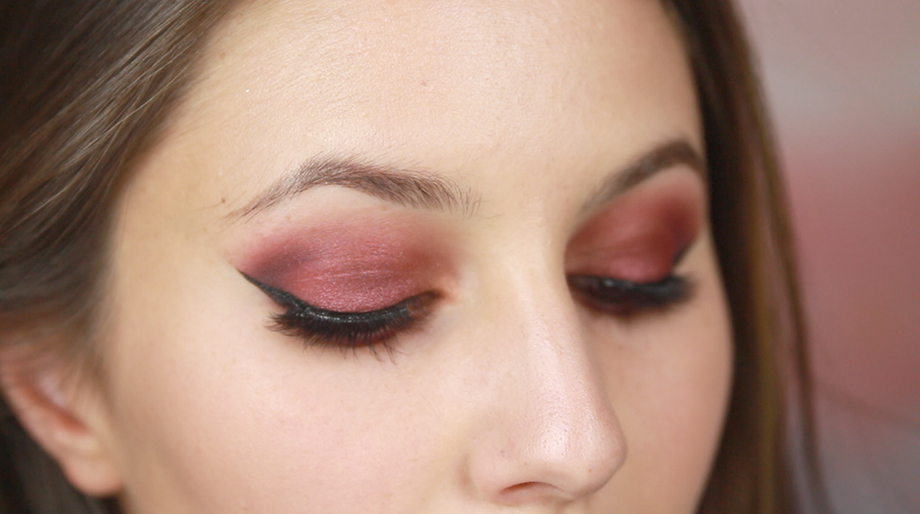
It’s that festive time of year and my fixation with red makeup persists. Today’s video tutorial details one method of wearing red eyeshadow, along with a few tips and tricks to perfecting winged eyeliner! If you love bold and editorial makeup, then this is right up your alley.
Hello, everybody. This is Karima from Shameless Fripperies again and today I'm bringing you another tutorial. This is my take on red eyeshadow. Let me introduce to you my monster Inglot 40 palette. A few shades from this palette will be featured in the look today. Before I start, I'll just mention that I'm wearing Illamasqua Scarab on my nails which is a beautiful multi faceted ruby red. And also just a quick reminder that you can watch this video in HD just click here. Okay, let's begin. I've gone ahead and done my brows and my foundation because this eye look is quite elaborate. I'm going to continue by placing two pieces of papery surgical tape on the outer corners of my eyes following the lower lash line. If you would prefer a less defined aesthetic, you can skip this step.
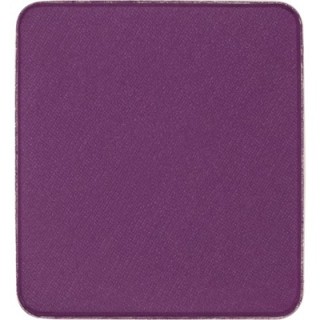
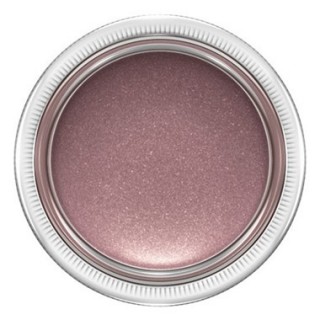
Next, I'm going to apply a colored base, and today I'm going to use a Paint Pot by MAC called Idyllic. And Idyllic is a dead on dupe for artifacts so you can use these interchangeably. I'm going to apply this with a finger all over the lid and just slightly the crease. I'm going to take this red shade from my Inglot 40 palette and I'm going to apply that to the crease with a Trish McEvoy 29 tapered blending brush. Next, I'm going to take this purple shade from my Inglot palette. I'm going to take it on the same Trish McEvoy 29 brush and I'm going to try to apply that in the outer V area and slightly in to the crease. I'm going to take the same red shape from Inglot on a MAC 213 and I'm going to put that on the outer half of the lid.
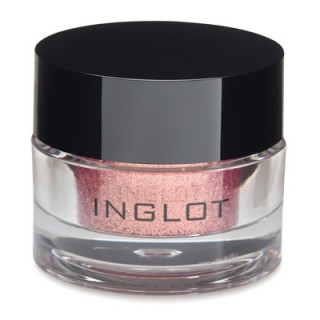
Now for the fun part. We're going to take a sparkly red pigment by Fyrinnae. This is called Candy Coated and we're going to place this on the inner half of the lid. I'm just going to place a little bit of Pixie Epoxy also by Fyrinnae. We only need a pin head really. A little bit goes a long way, this product, and I'm just going to dab that in on the lid but not in to the crease on the inner half of the lid. Taking a Bare Essentials wet and dry brush, I'm just going to work the pigment in to the brush head. Press the Fyrinnae Candy Coated all over the inner half of the lid where you previously placed your Pixie Epoxy.
Now, I'm going to apply my liquid liner and today I'm using the MSH Labo liquid liner called Love Liner Liquid. And this is something I purchased from my local Japanese cosmetic store. I actually never heard of it before so if you have, please let me know what you know and what you think about it. I'm going to apply this in a wing shape which is quite easy because I actually already have the tape that will help me guide me my outer wing. Looking down in to a mirror and pressing my eyeliner on in a flat motion. And I'm going to get it as close to the lash line as I can. Now for the wing, I'm just going to take my liquid liner and push it in to the tape, going all the way up until I feel as though it has achieved the length that I would like. And then I'm going to come back in and fill in that little gap.
Now you can peel off your tape and admire your wing. Taking your red Inglot shadow once again on a flat soft brush, I'm just going to run this on the inner half of the lower lash line. Then take your deep purple and run that on the outer half of the lower lash line blending in to the red. Now we're going to do the same thing on the other eye. Now to really perfect the look, I'm going to put in an inner corner highlight and a brow bone highlight. To make my lashes look a little bit thicker, I'm going to now tight line my upper lid. When you do this, really aim to color in all the areas between the lashes. Give your lashes a good curl. I'm going to use my Shu Uemura eyelash curler. Then you can go ahead and apply your favorite mascara. My favorite mascara right now is the Geisha Ink. And this has been going for six months strong. I love this one because it's really volumizing and also gives a load of length. So I'm just going to apply that to both the top and the bottom lashes.
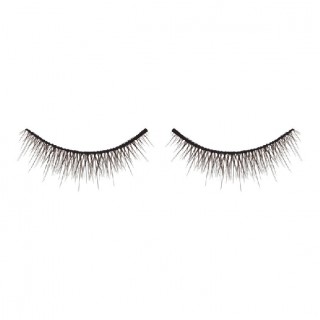
You could easily stop here but I'm going to add a little bit of drama with some false lashes. These are the Shu Uemura natural volume 01. I've really been liking Shu Uemura lashes lately. I feel as though they have a sort of fluffy feathery wispy quality that I haven't found in other brands. And with my Shu Uemura eyelash applicator, I'm going to lower the lashes on to the lash bed and I'm going to get it as close as I possibly can. Once the glue has dried, I always like to apply a little bit more black liquid liner and this is just to conceal the thick black band. And that's the eyes done. Let's finish the rest of the face.
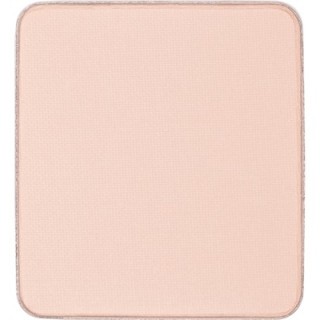
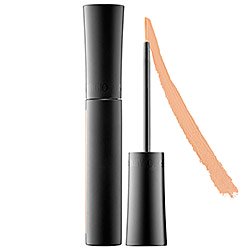
I find that red eyeshadow really brings out any other discolorations in the face. So make sure that you conceal your under eye circles really well. Today, I'm going to be using the Armani Precision Retouch and this is in shade 3. And I'm just going to apply in the inner corner, bring it up a little bit anywhere where I have any shadow. I'm now going to add some dimension to my face and for this I'm going to use Chanel Notorious, which is quite a fitting name and I'm going to apply this with the Hakuhodo 212. So I'm just going to slowly swirl that in to the hollows of my cheek. You can also run it a little bit down your jaw line if you would like a little bit more definition there.
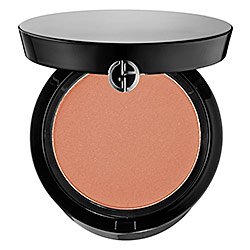
And to appease all you blush lovers out there, I'm going to apply a little bit of the Giorgio Armani sheer blush in #5, which is a very natural rosy tan color. To apply this, I'm going to use the Hakuhodo G544. The final step of this look is a lip and I‘ve chosen quite a natural My Lip But Better gloss and this is the Kevyon Aucoin Elegant Lip Gloss in color Anastasia. And I'm going to apply this with a lip brush. This is the Hakuhodo cover lip in F. And that is my take on red eye shadow. I'm just going to zoom in a little bit so you can see a little bit closer. I hope you guys enjoyed that look. Perhaps it's not the most wearable look but it was lots of fun nonetheless. If you have any comments or questions, please leave them in the comment box below and I hope to see you guys next time. See you later.
Complete Product List:
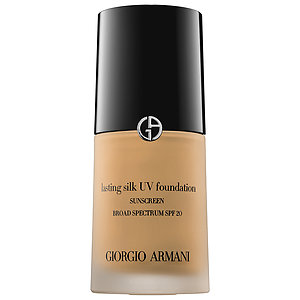
Giorgio Armani Lasting Silk Foundation
SUQQU Brow Pen in Brown
MAC Paint Pot in Idyllic
Inglot AMC 50 Eyeshadow
Inglot 325 Eyeshadow
Fyrinnae Pixie Epoxy (to aid the pigment in adhering to the lid)
Fyrinnae Candy Coated
Inglot AMC Shine 53 Eyeshadow
Inglot 353 Eyeshadow
Msh-Labo Love Liner Liquid Eyeliner
Rouge Bunny Rouge Eye Kohl in Salome
Geisha Ink Mascara
Shu Uemura Natural Volume 01 False Eyelashes
Giorgio Armani Precision Retouch Concealer in shade 3
Chanel Notorious Contour Powder
Giorgio Armani Sheer Blush in shade #5
Kevyn Aucoin Elegant Lipgloss in shade Anastasia
Have you worn red eyeshadow before? What placement/colour combination? I’d be curious to hear other approaches.
xxkarima
Aww it’s so pretty!
Your film director is quite tough with you LOL!
I think film dictator might be more accurate 😛
“SMILE, STOP SAYING AND!”
He’s a wonderful camera man <3
xxkarima
I love this red eyeshadow look, but the ingot made my eyes itch -any dupes u could recommend?
The red eyeshadow made your eyes itch? You may have an allergy to red pigment, which is common. Other great red eyeshadows include Sugarpill Love+ (i got a dud texture wise but great colour) or MAC Red Brick. You may experience the same irritation, though, depending on pigment formulation.
xxkarima
love love love red eyeshadow! i’m going to dupe this look when i next go out. Where do you get your geisha ink mascara from???? and yay for chanel notorious <3
Hi darling!
Red eyeshadow is the bomb 😉 Quite unwearable but so MUCH fun. If you try it, pictures OKAY?!
I get Geisha Ink from misebeauty.com but IIRC, it’s kinda pricy with shipping (but what do ya do…)
Yay for Notorious <3 Thank you for peaking my interest in this products!
xxkarima