The other day I was steeping in my own inadequacy browsing instagram thinking… Dayum, my friends are bomb. Y my flatlay no look like dat? How u so awesome?
Somewhat selfishly (mwahaha), I convinced them to tell us their flatlay secrets.
@wendy_online
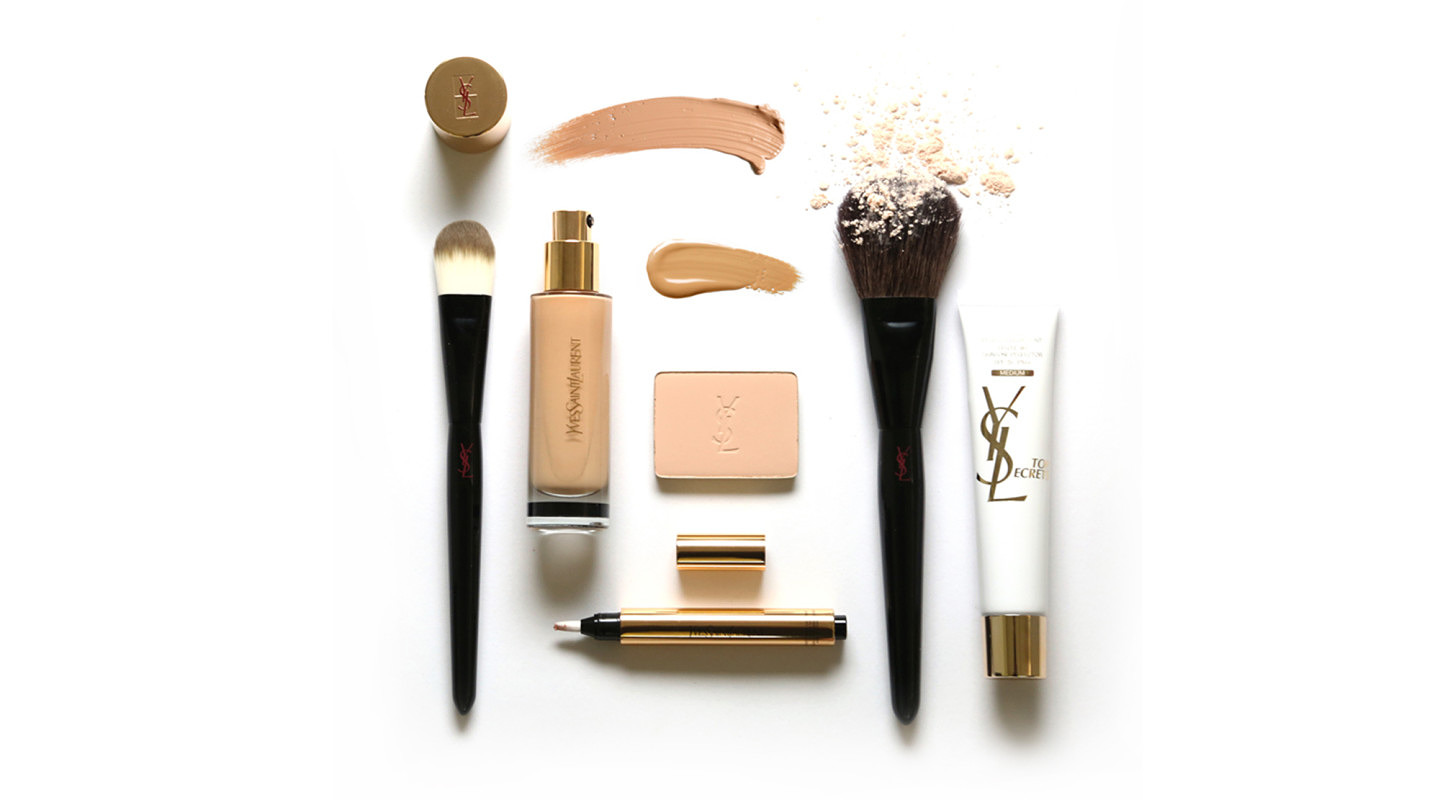
Wendy is legit one of the hardest working people I know (you should have seen her at fashion week) and although she is relatively new to instagram, she has already amassed over 20 thousand followers! It’s no wonder, she’s the flatlay KWEEN having styled and shot images for clients including YSL Beauty Australia, Napoleon Perdis, Essie Australia and Simple Skincare.
 OKAY, tell us how?!
Wendy’s Tips
A white background works best and you don’t need anything fancy! A white piece of cardboard or a roll of baking paper works wonders.
Clean your products off, a gorgeous shot can be ruined by a dirty foundation cap or fingerprint marks. It makes a world of difference in your pictures and costs absolutely nothing to do.
Have fun with it! Flat lays don’t have to be boring. You can keep it interesting with with food, flowers, jewellery or whatever props you see fit.
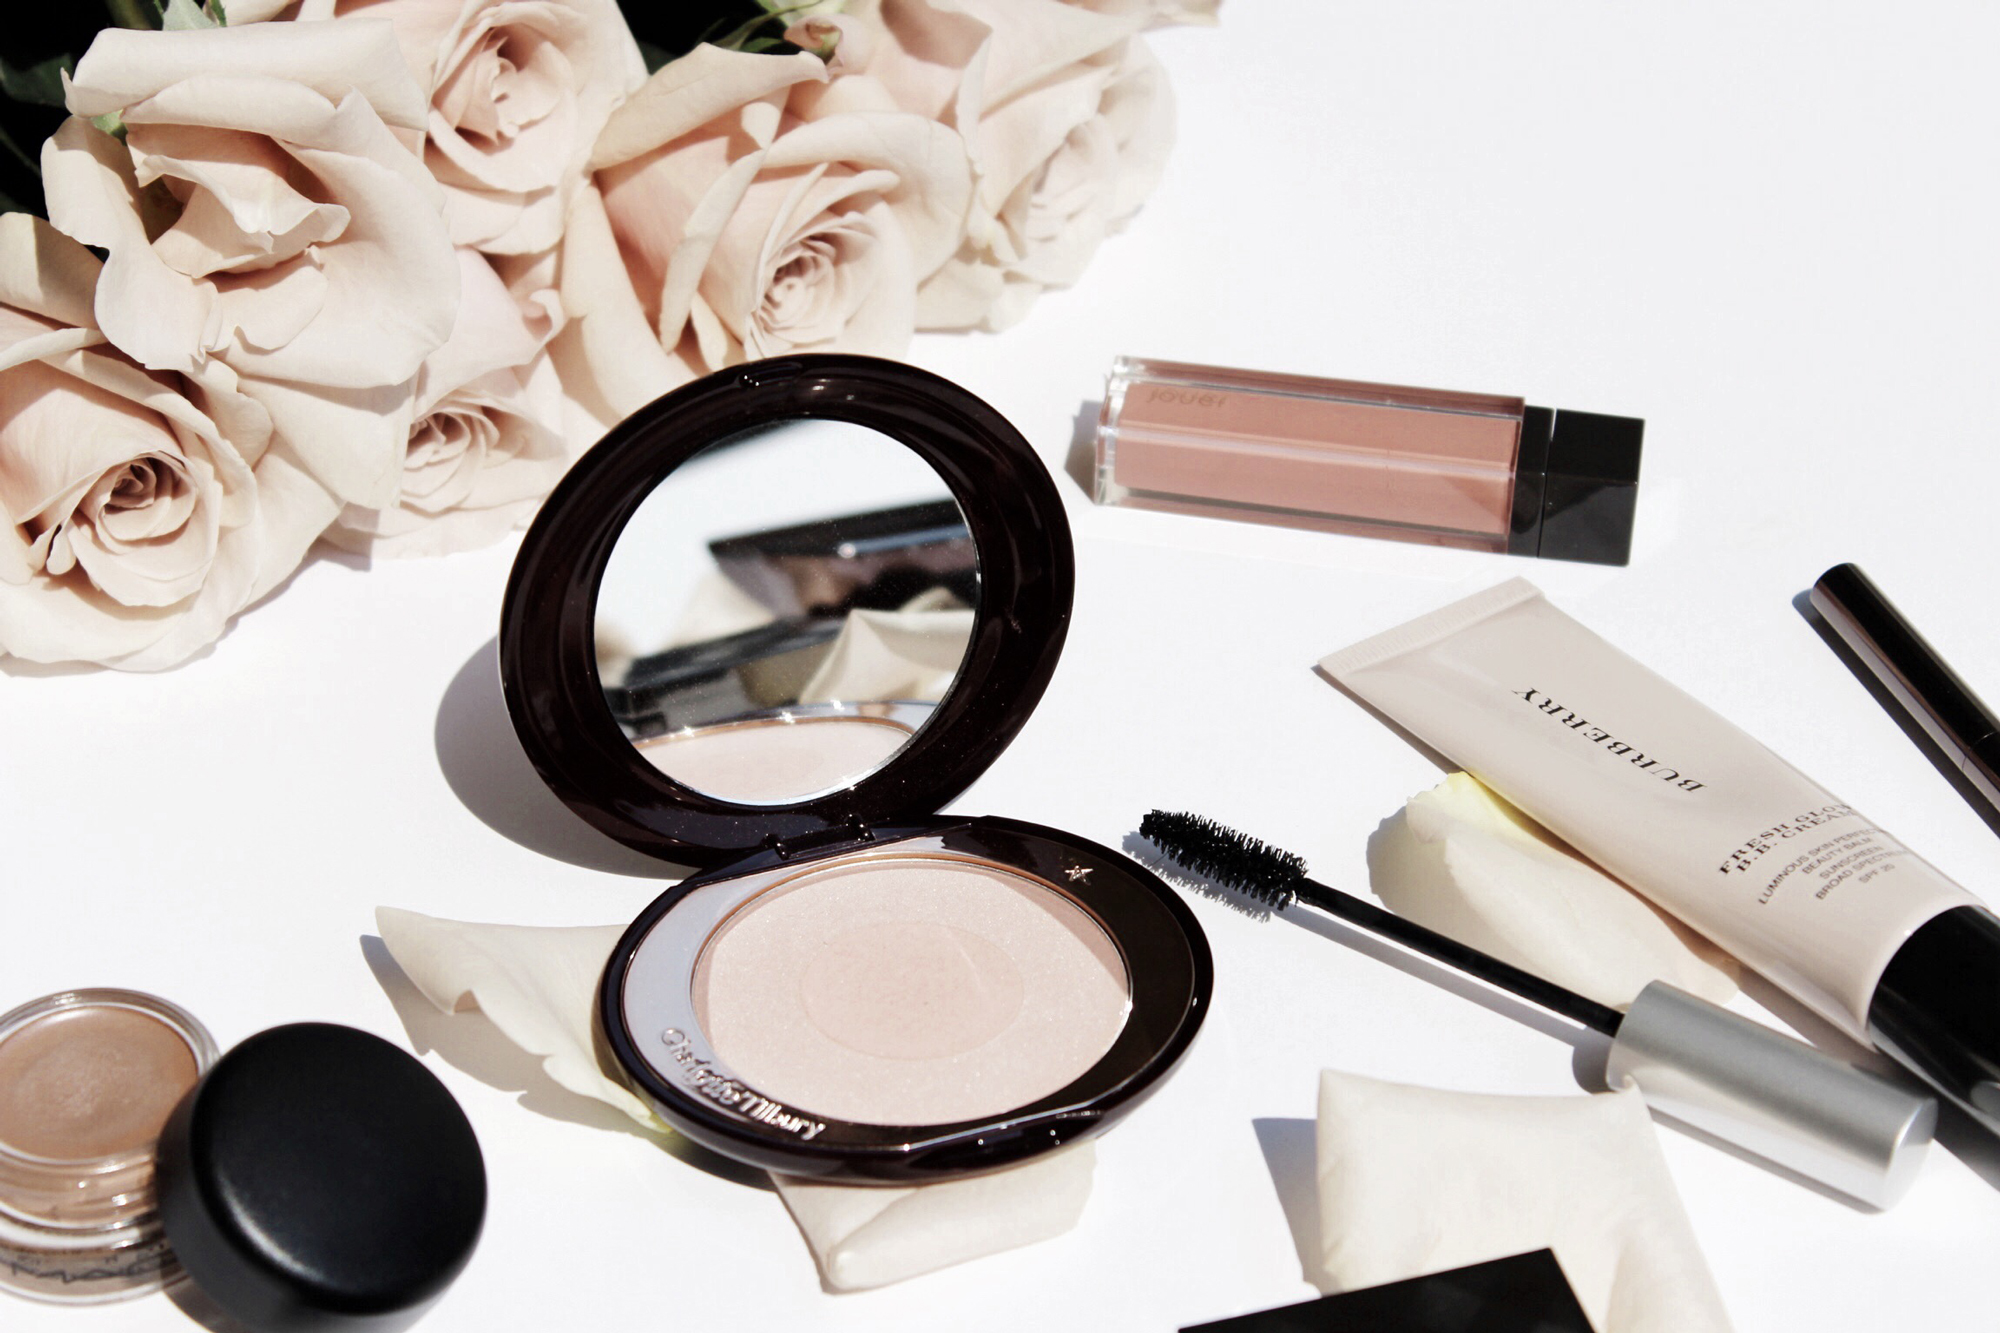
If in doubt keep the products tonal. It helps create a cleaner, cohesive picture and ties everything together nicely.
@lichipan
Li-Chi Pan is SO freaking sweet, you just wanna cuddle her. With over 60 thousand (!) followers, Li-Chi has worked with iconic brands such as Audi, Country Road, Ladurée and Nespresso. She recently collaborated with Flight Centre to create breathtaking photography for Tourism New Zealand and will be embarking on a trip to Dubai this month to collaborate with Tourism of Dubai.

Her work is instantly identifiable; an eclectic mix of food, lifestyle and makeup.
Li-Chi Pan’s Tips
Unconventional props keep your flatlay interesting – I use coffee cups, books, glasses and laptops on the regular.
Standing on a chair when photographing helps too! It allows you to capture the entirety of the image in one smooth go. Don’t be shy to get up on that chair to take that flatlay!
Editing apps can be the key to creating awesome atmosphere, my favourites are VSCOcam and Afterlight.
Shoot near natural sunlight, a bright spot near a window is perfect. It’s important to take advantage of the light when it’s not too harsh.
@bubblymichelle
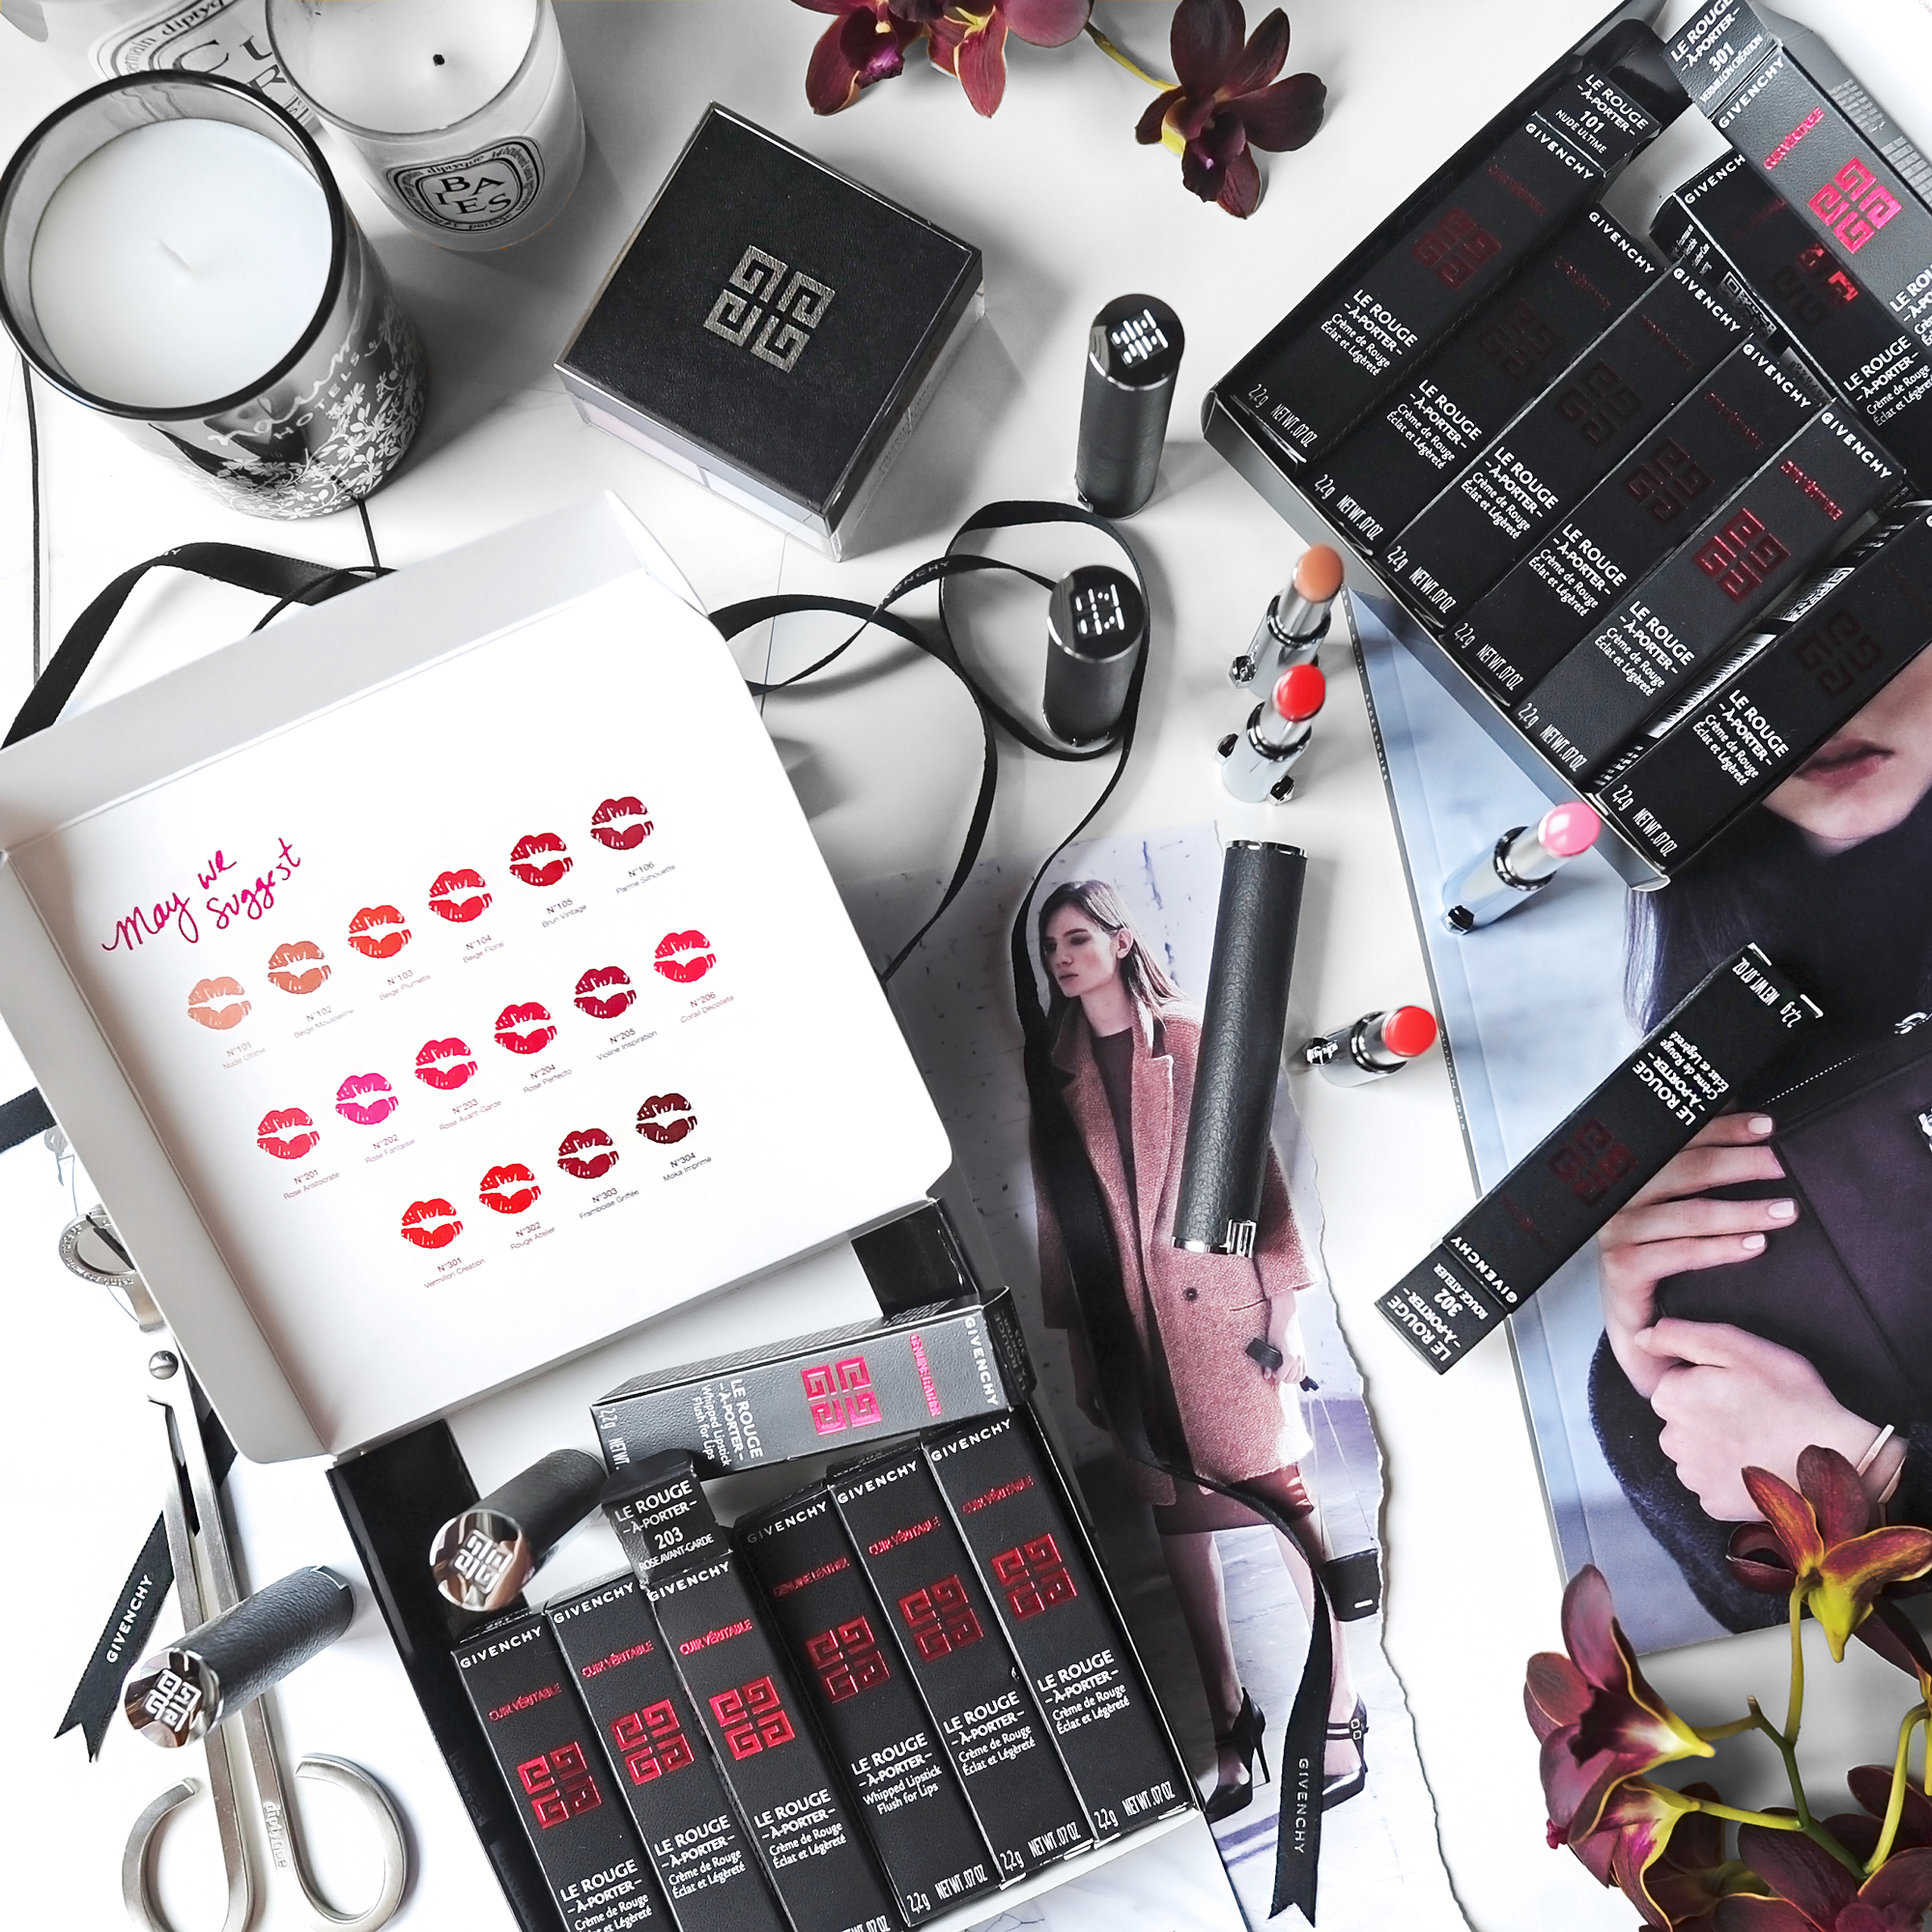
Michelle’s instagram is the mecca of high-end makeup and she manages to create FLATlays that are full of dimension and depth – a tricky skill to master (I’ve tried!). In addition to her makeup-focused account, she runs two professional hotel instagram platforms (here and here) – food, landscapes, you name it! Much admiration, Michelle <3

Michelle’s tips were eye-opening to me and I’ve already incorporated some of the concepts into my own instagram account!
Michelle’s Tips
Build a mood around whatever you are trying to feature. In this case I wanted a mysterious, cosy feel to go with the seductive leather packaging of the lipsticks. Everything should look harmonious.
Work in batches (we are going for organized mess, not mess!) and group similar products in clusters or a continuous flow so that the eyes don’t get confused; a couple of open lipsticks, a trio of candles, etc.
Lastly, mix textures and shapes; in a sea of square products, sneak in something round or circular. With flat objects, mix in some texture like a scarf, or something fluffy to give it dimension. Even organic/living elements, such as flowers, a cat or a random hand can make a flatlay look far more interesting!
@tamirajarrel
Tamira’s instagram gives me major frienvy (getit getit? friend-envy!), it takes serious skill to create such a consistent feed. #Datskill got her nominated for the Top 10 Beauty Blogger of the year 2014 (Allure magazine), she’s been featured on the Bloglovin site and has worked with brands including Burberry, Tom Ford, Hourglass Cosmetics and SpaceNK.

Though not technically a ‘flatlay’, this is one of my favourites from Tamira 🙂 Tonal perfection!
Tamira’s Tips
Scotch tape and blue tack are your BF’s for items that like to roll around.
Work around your main item, something a bit larger than the rest (e.g. shoes, hat, purse or laptop) will help to define and break up the flat lay.
Lay items out so that they aline properly, I step back a few times to make sure everything is straight. I’m just a very anal person when it comes to things like that but it makes a hell of a difference if you pay attention to detail. That being said, products need not be centred, you can shoot some of your pictures in different corners of the frame (and don’t worry if you accidentally catch your toes in the picture, I crop mine out all the time!)
Don’t feel the need to fill every inch of space – clutter can be a big turn off and eyes need somewhere to rest as make their way around a flatlay.
Were you taking notes? Because I am! Massive thanks to these ladies for sharing their flatlay tips and be sure to follow their instagram pages for daily inspiration <3 Let’s have a discussion: What is your best flatlay tip? What’s your favourite editing app? Tell us in the comments!
xxkarima


Oh my God, what a beautiful pics=)) Thanks for your post=))
arcticraspberry.ru
Very beautiful pictures 😉 x
I loved this! I always think my flatlays look like I’ve plonked products into a pile! So thanks for the inspiration lovely lady 🙂
Haha I’m in the same boat, trying to achieve the ‘organised mess’ look 😉
x
Stunning pictures. Really enjoyed the whole post: Wow
Glad you enjoyed it! I found it very insightful 🙂 x
Absolutely BEAUTIFUL and so inspirational pictures. They give life
I agree! Very beautiful shots 🙂 x
Such useful tips! Your videos and posts are always so flawless! If only I had enough space in my tiny dorm room to make amazing flatlays too hehe
If you can find a pretty marble tile, you could even take the photos on your bed 🙂 x
This was such a very helpful post! I also love VSCOcam to edit too 🙂 thank you for the tips xx
Hey Kelly! Glad you found it helpful, it definitely got me thinking! xx
I love to see that another female who is in my age group is not afraid to give compliments and choose sharing and growing together instead of meaningless jealousy and bitch face. Keep up the positive attitude 🙂 It may seem like a make up blog have little to none contribution to overall girl team power spirit and some sort of fake and excessive sensibilty but I tend to disagree. Woman can be each others worst enemy but we do have the potential to be each others greatest support. I optimisticly prefer the latter. Your pieces are always a pleasure to read.
Kind regards from Turkey 🙂
Spread the love and lift each other up <3 xx
My fave editing apps are Afterlight, Kitcamera, and Mextures. I also like Pixlr and VSCOcam. 🙂
Checking those out right now, thanks Shelly! I love snapseed 🙂
x
Wonderful post and some great tips and ideas! I’ve only just started to incorporate flatlays and I need a bigger space and better lighting. Oh, and the talent which I lack compared to these lovely ladies!
Thank you for the post!!
Ingrid Hughes
Hey Ingrid!
I take some of my flatlays outside – might solve your space/lighting situation 🙂 The talent here is CRAZY, though!
x
Thanks for the wonderful post Karima! I just have a quick question… what to do about the lighting? It’s mentioned to use sunlight.. but I am more interested to know how to use studio lighting for flat lay. Most of the time the light’s reflection can be seen on product surfaces. How do you make sure that the light is distributing evenly without reflecting on the surfaces?
TIA.
Hey Wasifa,
I tend to prefer sunlight so I’m no expert on studio lighting for flatlays but I’ve seen great results from using external flash tools (flash soft boxes with diffusers) to achieve dimension. I’m sure youtube has tutorials on this 🙂
x
I know Bubblymichelle IG over 3 years! This is perfection <3
Amazing products, gorgeous Picture and Michelle is such a lovely Person! ( yes sis,you are!!! )
And what I love – she is always truthful!
xoxo
Thank you Karolina <3 You are such a darling!
P.S- I think you are an amazing friend too!
Bubblymichelle is the BOMB! I’m so excited to have featured her on my site <3
x
Such a wonderfully informative post Karima! Definitely picked up a few handy tips myself! Also thank you for featuring lil ol’ me as well 🙂 Happy to have a spot on your blog!
xx
Thanks for being so awesome 🙂 Your tips are so practical, I’ve incorporated some already! xx
Beautiful : Loved them all:)
I’m glad you liked it! x