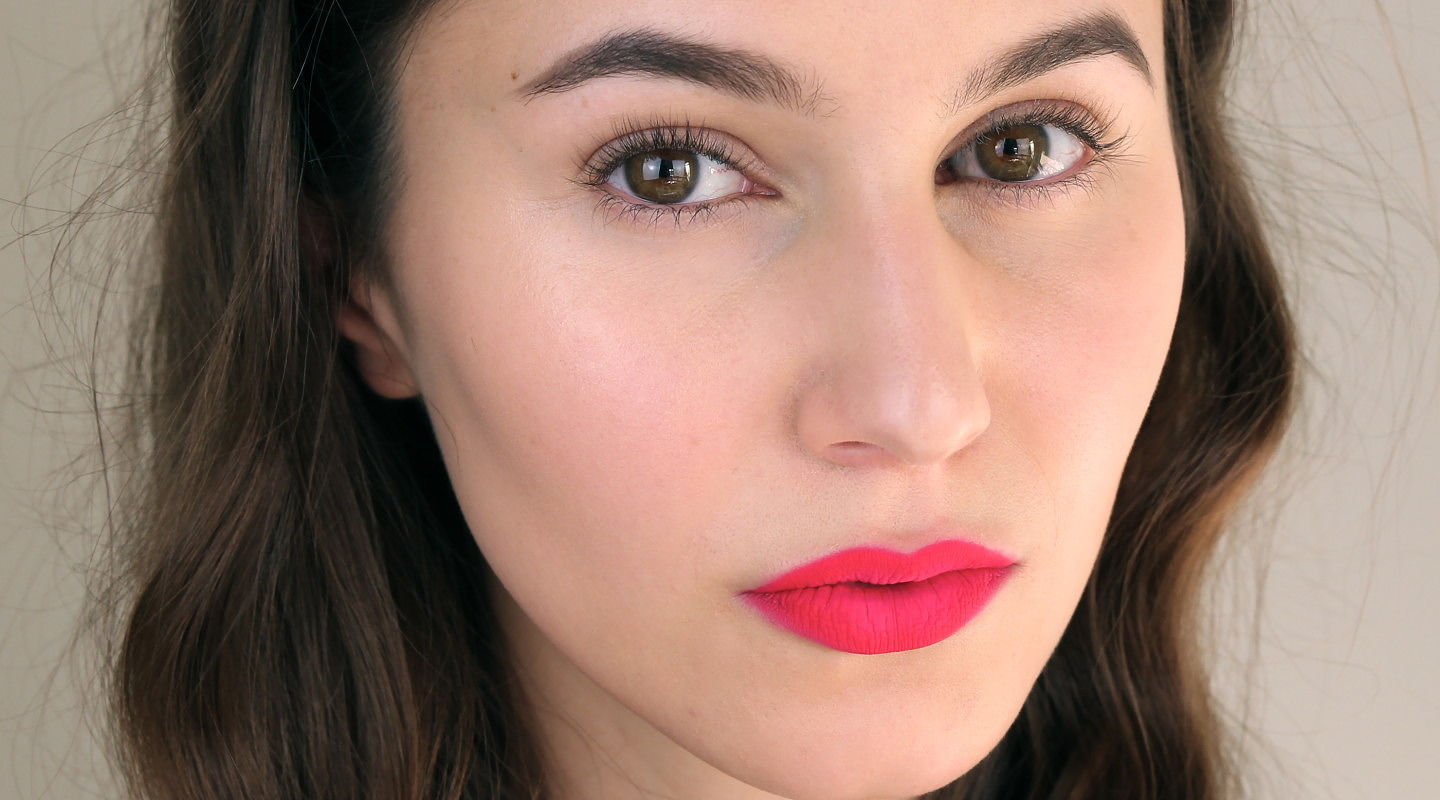
For the past few months, I’ve become obsessed with neon lips- somewhat out of necessity; I can’t wear eye makeup so I’m busting out the crazy lipcolours, rocking a full brow and glossing up the skin.
Hopefully you guys can overlook the changing light situation, I decided to experiment with natural lighting and Murphy’s Law, Sydney exhibited record sporadic weather. Lesson learnt!
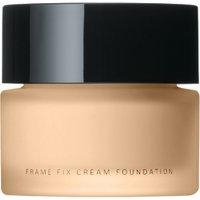
Today, I'm doing a tutorial on my own face and since my eye is still out of action, I thought what better opportunity to do an ultra neon lip. And I'll show you how those fluorescent shades are achieved at cat walk and for editorial shoots. This is one of my favorite genres of make up and I hope you guys enjoy it too. I'm going to start with my base. This is the SUQQU frame fix cream foundation. And one of my Instagram subscribers asked for a demonstration of this product. So here we go. So I take about half a pea size amount on my hand, a very small amount, and I smear it on my face in the areas where I need coverage. I do this first just so that my brush doesn't munch up all apart. I then take my Teal Techniques buffing brush and with light circular motions, I just start blending this in to the skin.
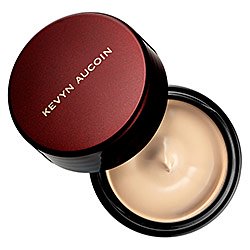
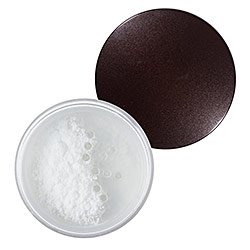
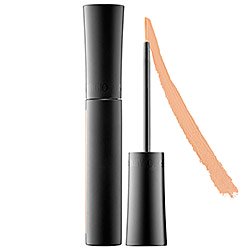
Guys, I think this might be my new favorite foundation. It offers a really full coverage, has a dewy finish and it lasts 12 plus hours on my skin. It's incredible. I actually did before and after shots on my blog. Please check it out. My hormones were not kind to me this month so I'm going to whip out my Kevyn Aucoin's Essential Skin Enhancer. And I'm just going to conceal any leftover marks. These are the type that don't go away for months and months on end. And I'm also going to use a generous amount of undry illuminator. Complexion is key with any sort of bold lip. I'm a broken record but if you're doing a strong lip, dedicate a little bit of extra time to the complexion because it really pays off. I'm just going to dust my under eye area with a bit of Laura Mercier Secret Brightening Powder which is one of those things that you don't know that you need until you try it. It's incredible. It sets all the concealer in to place and it has an extra sort of brightening effect.
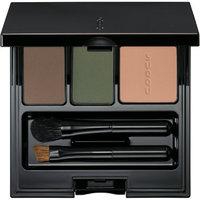
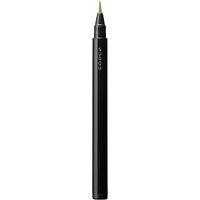
Okay, straight to the eyes, I'm going to comb my lashes with my Shu Uemura curlers. And that's it. That was really easy. You guys can obviously add a light slick of mascara and a little bit of contour powder through the crease but I can't. For the brows, this look is quite minimalist and I'm going to give myself quite a strong brow to give my face some structure. I'm going to be using a brow pen just to fill in the spot areas and also to lengthen my tail because I have a hell of short brows. You guys might notice that I've grown out my brows recently. I actually did a whole blogpost and I put all my little timeline of brows. So if you want to check that out or if you're growing out your brows yourself, I'll just link that somewhere here. I'm also going to put a little bit of brow powder, just in the most inner portion of my brow. I'm also going to blend that outwards just to diffuse the pen. So as you can see, this is a strong brow but it's not a manicured brow. It's full and bushy and youthful. Obviously, you could tone it down but I'm just having a Cara Delavingne moment or year.
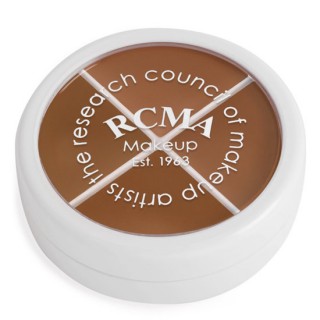
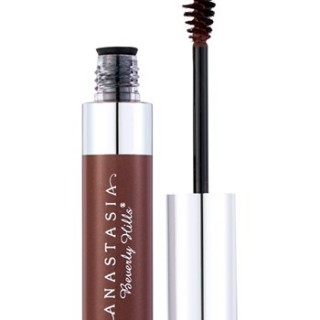
So when you've done quite a bit of filling in, I think it's really important to get some texture back in to the brow to make it look a little bit more natural. So I'm using the Anastasia Tinted Brow Gel, and I love this one because it doesn't have any shimmer in it. I don't know what's up with that. Why do so many brow gels have shimmer? Like MAC Brow Set, discernable shimmer. I don't know. That kind of puzzles me. An editorial look calls for a strong contour. I'm using this cream contour by RCMA and I know what you guys are thinking but have some faith in me. I'm going to take a very small amount of these charcoal contour and I'm going to place it just on the outermost part of my cheek bone. I'm not bringing this too far in because I don't really want a gray haze around my mouth area. Just taking it out to there. Then I'm going to take a small contour brush and I'm going to blend that upwards. A strong contour I think is one of those things that's kind of perceived as tacky and I probably shouldn't love it but I do. I really, really do.
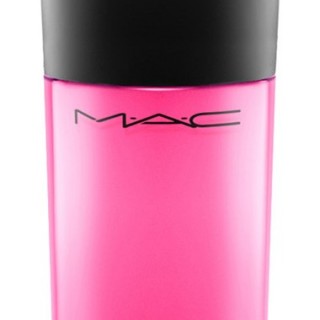
Okay, this is the best part. To achieve our neon lip, I'm using a combination of two products. This is the Chromagraphic Pencil in Process Magenta by MAC and this is MAC Magenta Madness Pigment, an unlikely product to use on the lips but whenever you see a crazy fluorescent lip on the catwalk, there is almost always a pigment involved because you simply can't achieve that vibrancy from a lipstick alone. I'm going to line and fill in my lips entirely with the Chromagraphic Pencil. And I've done a bit of sneaky over doing on my top lip just to bounce it out of it. Then I'm going to take the pigment on a fluffy crease brush and I'm just going to pat that over the entire lip. I'm getting as close to the lip line as I possibly can without making a god awful mess.
So fun fact: This exact lip combination was used in the DVF Catwalk. I think it was 2011. And I love it but I think I want something more. I want a bit more pizzazz, red electric, yes, yes, yes. This is a neon coral color where as the other shade was magenta and I'm just going to tap that inside of the lip. So as you can see the result is crazy fluorescent. I forgot to mention one important tip when doing this technique. Whether you're layering your pigment over, a lip liner or a lipstick, make sure that it is entirely matte. If there is any glossiness or moisture in your base, it would deepen the pigment and that just defeats the purpose. As this lip is super matte, I've decided to add some face gloss just to the high points of my face. This gloss is intended for the face but whatever you do, avoid menthol or lip plumping glosses on the face because it won't end well. Also I'm going to run a little bit of that on my eyelid.
And that completes our neon lip tutorial. I had so much fun. I really miss being on this side of the camera. Obviously, this is bright and I'm not suggesting you wear it to work tomorrow. Although I am now headed off to a first birthday where I will likely startle some poor infants. I regret nothing. I hope you all have wonderful day, night, week. And maybe next time I see you, it would be for a giveaway. See you later guys.
Final Look

Nail polish I’m wearing in this tutorial:
Illamasqua Lament, a neon coral-y pink (AGAIN!)
Complete List Of Products
SUQQU Frame Fix Cream Foundation – 002
Kevyn Aucoin Sensual Skin Enhancer – SX05
Giorgio Armani High Precision Retouch Concealer – #3
Laura Mercier Secret Brightening Powder
SUQQU Brow Pen – Moss Green
SUQQU Brow Powder – Moss Green
Anastasia Beverly Hills Tinted Brow Gel – Granite
RCMA Cream Contour – Shader S13
MAC Chromagraphic Pencil – Process Magenta
MAC Pigment – Magenta Madness
MAC Pigment – Red Electric
Rouge Bunny Rouge – Angel’s Play Eye Gloss
xxkarima
You’re terribly pretty! I loved this video, the tips were really helpful, and getting a sense of your personality in it — much prefer this to videos where the tone is a bit stiffer and more lecture-y.
Thank you!
omg its so pretty!!! and i’d die to have your skin it’s so perfect!
My skin is so flaky right now (change of seasons) but thank you! 🙂 x
Great video! I’m a fan of crazy lip colors as well– in fact, I’ve been searching for a really dark teal! Would you ever consider doing reviews of something like that? I only ask because your conclusions are uncommonly in-depth and honest to match my pickiness.
I actually don’t own any dark teals! I tend to favour bright lipsticks over ultra-dark lipsticks but never say never! xx
Gosh you can get away with any color!!
I love all colours! I think most people could pull this off, actually. xx
I don’t think you can do any wrong. I love your skin!
Blue eyeshadow is pretty wrong on me, but I try LOL. x
Karima,
Wow that looks amazing! Also your so beautiful and your skin looks flawless 🙂
Thanks, Naomi! Too kind 🙂 x
I LOVE this, the neon lipstick looks so good on you!
Too kind, thank you!
Karima! This hair is gorgeous, please explain how you achieve curls like that! x