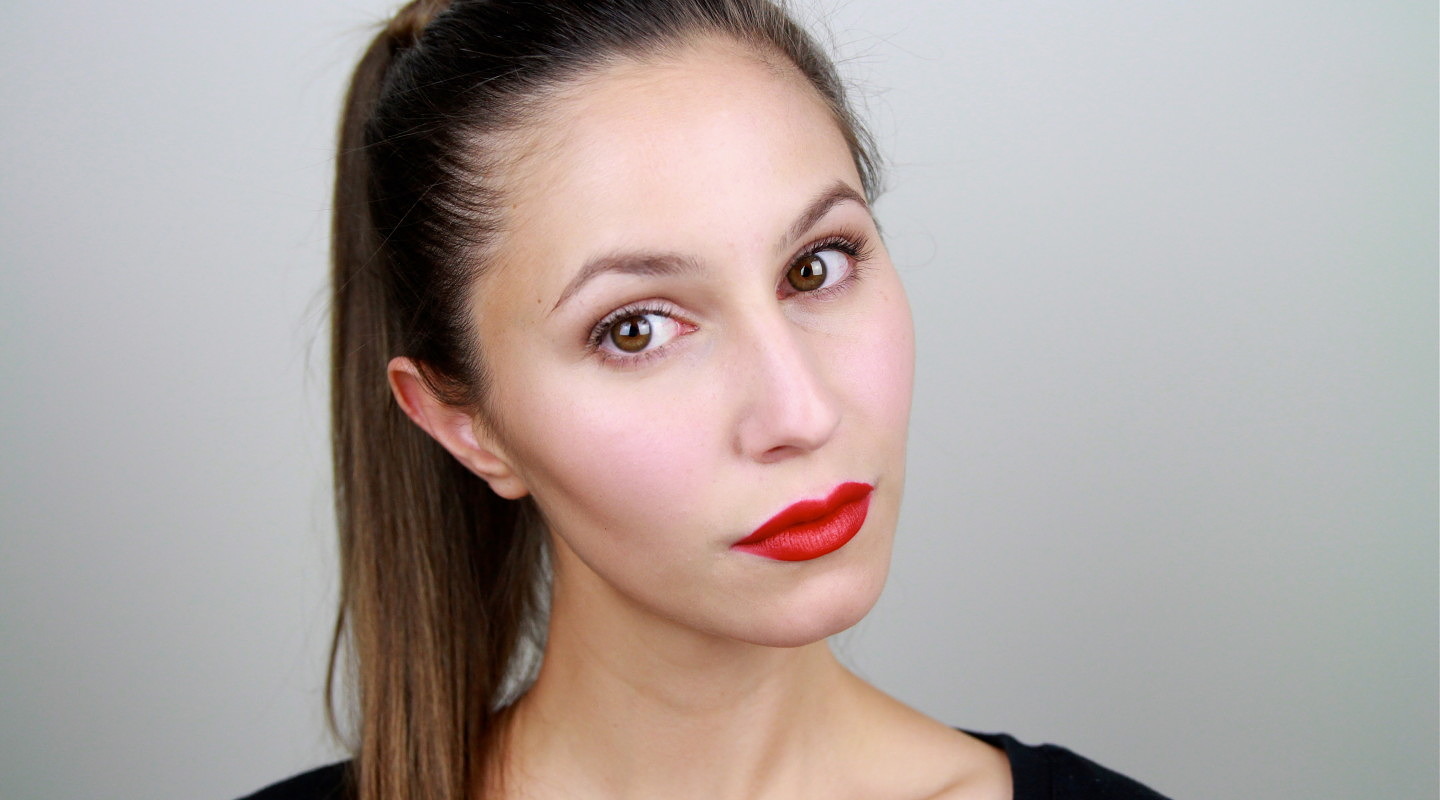
This tutorial is centred around editorial red lipstick. Our aim is to contrast the natural looking elements of skin and brows with a perfectly crisp red lip. A healthy dose of highlighting and contouring ensures that the final look is striking while embodying modern minimalism.
Hello, everybody. Today, I've created a tutorial based on this red lip. Now while I love pin up inspired make up with winged liner and red lipstick, I'm also quite partial to red lipstick paired with a nude eye and some really strong contouring. This trend is really popular on the catwalk and I think it's an ultra-modern and chick way to rock a red lip. Let's get started. We're going to start off with the base. Natural looking skin is a key aspect to this trend. So today I've decided to use a cream foundation. I'm going to apply this with a damp beauty blender only to the areas where I need it. So for me, this would be around the nose and a little bit on the cheeks where I have some rosiness. So I'm just going to use the pointed end of the beauty blender and use a dabbing and rolling motion around the crevice of my nose and blending it out to almost nothing. I know that every YouTuber and their dog has raved about this beauty blender so I'm just going to chime in with the chorus. It is a fantastic tool for fool proof foundation application.
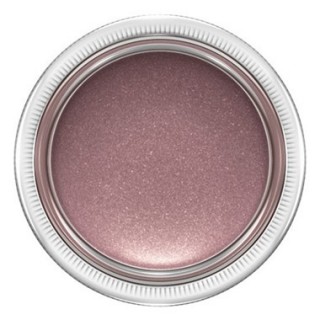
On to the brows, the focal point is the lip. So I'm going to keep the brows quite natural. I'm just going to use short like strokes to fill in any spot areas but not create any harsh lines. Using a light reflective concealer, I'm going to illuminate any shadows on to the eyes. I'm also going to use a little bit of a skin colored base, this is MAC Painterly, all over my lid just to conceal any discoloration because I have quite a few veins on my lid. Now for liquid highlighter, this is going to help emphasize bone structure along with the contouring that I'm going to do later on. I'm just going to use my finger and I'm going to dab the liquid highlighter on the tops of my cheek bones and I'm going to run this also a little bit under the brow, and also a little in tear duct, and on the cupid bow. So basically anywhere where light would naturally hit. I'm not going to apply it to the bridge of my nose because if you can see, I already have quite a bit of height there but if that's a flattering look on you, then go right ahead.
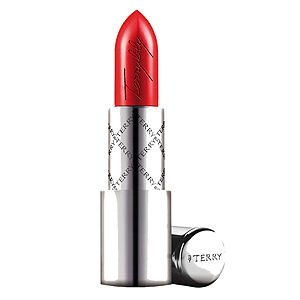
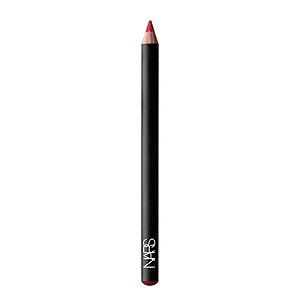
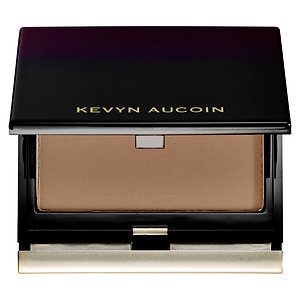
I find it helpful in these instances to do my bold lip before I do any contouring. This is so I can determine how much contouring I'll need. Firstly, I'm going to map out my lip shape with a red lip liner. Today, I'm using Jungle Red by NARS. Once you've mapped out your lip shape, you can continue by filling in with the red lipstick. Today, I'm using By Terry Frenetic Vermillion. Using a lip brush, really work the lipstick in to the lips. I find that this makes the lipstick last a lot longer. We can really start to see a theme on emerging here. We have very natural looking skin, a very natural brow and a perfectly crisp red lip. This is the contrast that we're going for. Before we use our powder contour, we're just going to lightly powder the face on all the areas where we didn't highlight. And this is just so that the powder contour adheres evenly. The product that I've chosen to contour today is the Kevyn Aucoin Sculpting Powder in medium. This is one of my favorite contour products because it is quite a cool tame powder that mimics natural shadows very well.
I'm also going to use the included brush. Now although this isn't very soft, it is quite directional so it allows for more precision than a larger, fluffier brush. The areas in which you contour is largely dependent on your bone structure. So really assess your face and determine where your hollows and where your natural shadows are and shade there. Just as a guideline, generally this is under the cheekbone and you can see with this directional brush that it gives me the ability to blend upwards quite easily. You can also contour along the sides of your temples. You can avoid this if you feel as though your face is narrow enough already and you can continue this line by running underneath your jaw line if you like a little bit more definition there. Taking a crease brush, I'm also going to run a little bit of that contour through the socket, again just to give a little bit more definition. You can also run a little bit in this inner corner and slightly down the nose. Taking a soft small brush, I'm also going to run a bit of that contour on the lower lash line.
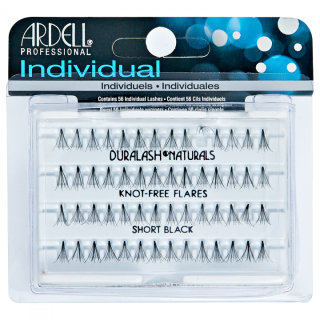
I can already detect that even once my mascara has been applied, my eyes are just going to disappear in to oblivion. I've decided to deviate slightly and place a few short individual lashes on my top lash line to make this look more wearable for me. I'm placing these in a random order. I'm not focusing on the outer corner because I'm not looking to achieve a feline shape today. Taking most of the product off your mascara want, apply your mascara mainly to the base of the lashes. And there you have a catwalk-esk red lip look. If you feel as though you need a little bit more shading around the eyes or a little less contouring, then you can absolutely alter this look to suit you. Let me know what you think in the comment section below and until next time. I'll see you later guys.
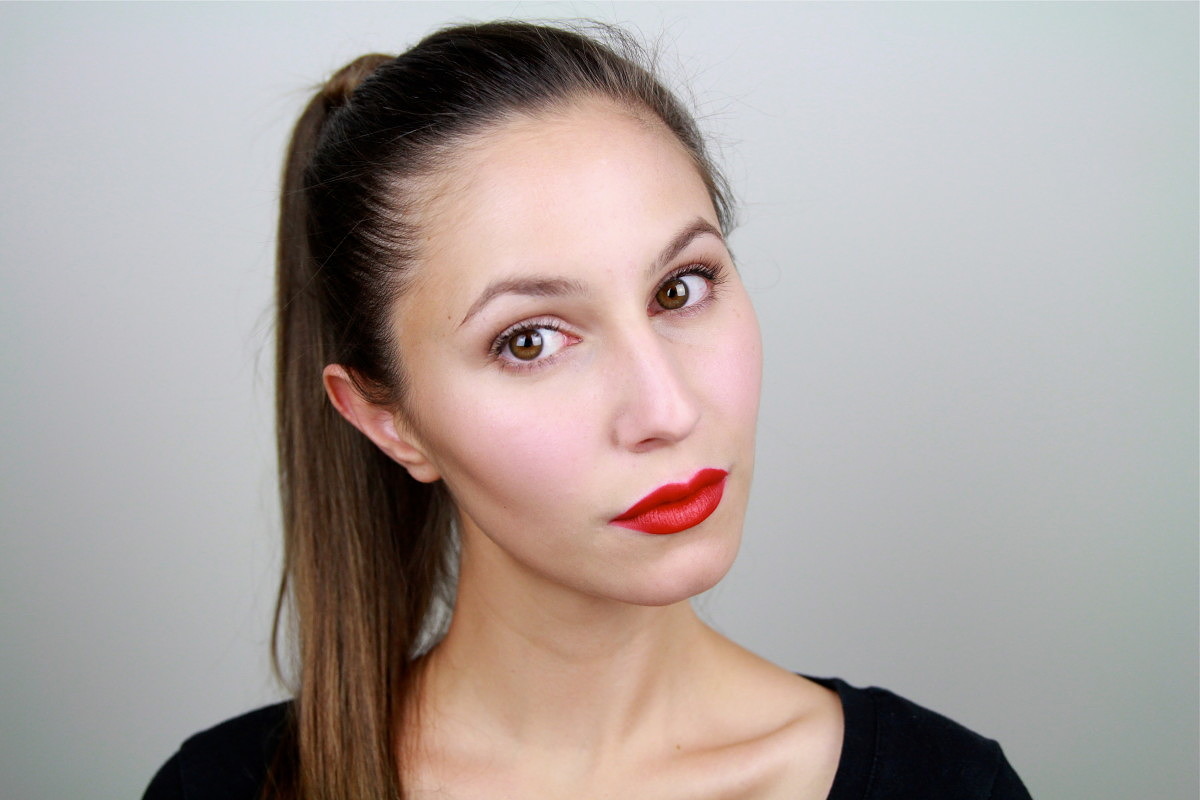
Final Look:
Nail Polish I’m wearing in this tutorial:
Illamasqua Throb (one coater! WIN!)

Complete List of Products:
Shu Uemura Nobara Cream Foundation (mix of shades 564 and 584)
Giorgio Armani Precision Retouch Concealer in shade 3
MAC Paint Pot in Painterly
SUQQU Brow Pen in shade Brown
Rouge Bunny Rouge Highlighter in shade “Sea of Tranquility”
NARS Jungle Red Lip Liner
By Terry Rouge Terrybly in shade Frenetic Vermillion 200
SUQQU Loose Nuancing Powder in Natural
Kevyn Aucoin Sculpting Powder in Medium
Ardell Short Flare Individual Lashes
Geisha Ink Mascara
Finally, some eye candy for you beautiful people…


xxkarima

You look beautiful, as always Karima! There’s nothing quite so striking as well done, minimal base makeup paired with a bold red lip.
♥ Jessica
Hey Jessica!
Thanks for your kind words, this is my favourite genre of makeup right now 🙂
xxkarima
this is a GREAT video!!! it would be really awesome if, perhaps, ur lights werent so bright that way we can see a difference on the skin as you add highlighter ect ect. seeing a difference with each step is really what makes watching tutorials so fun. you are amazing!! please keep them coming!
Hi!
Noted, I’ll fiddle around with my camera settings 🙂 Thank you!
xxkarima
That is stunning Karima! I am so glad you are making videos, your pictures look professional with your new cam – love that! You may know that already but red IS my fav colour of all times. I just love looking at every tutorial featuring something red, especially lips. Your features are amazing and so perfect! I am now going to wear my YSL red or Chanel pirate. I want more of such beautiful posts 😉
Thanks, Claire <3
Red is one of my favourite colours, too! Chanel Pirate is beauttttiiifullll!
xxkarima
Have you ever thought about doing some local modeling? You have the face for it!
I can’t say I’ve ever considered it to be honest, I’m hoping to finish my degree soon. Thank you, though!
xxkarima
Beautiful! As always 🙂
Thank you dear <3
xxkarima
Loving the high quality of your tutorials, they are so professional. Hooray, a widows peak that looks so cool too!!
Thank you, Sylvana <3
xxkarima
Thank you for the fabulous tutorials! You have inspired me to try this look. I’ll let you know how it turns out.
Thanks!
Please do, Sandra 🙂
xxkarima
karima: you really rock that red!!! woooow!!!
Thanks Estela! It’s a great shade 🙂 x
Hi Karima
I love your tutorials, this is a modern, beautiful way to wear a bold red lip. I also love Lisa Eldridge tutorials like yourself.
Thanks for the great makeup tips!
Hey Justine! Thank you, glad you liked it 🙂 x